Growing potatoes in a container means planting 2 to 4 certified seed potato pieces 4 inches (10 cm) deep in a 10-gallon (38 L) grow bag or bucket of loose potting mix, covering the stems as they grow, keeping the mix evenly moist, and harvesting once the foliage dies back after 70 to 120 days.
Key Takeaways
- A 10-gallon (38 L) container is the best all-around size for potatoes, and a 5-gallon (19 L) bucket works for 2 seed pieces.
- Certified seed potatoes give a disease-free start, while grocery store potatoes often carry sprout inhibitors or disease.
- Regular potatoes go into containers 2 to 4 weeks before the last frost, and sweet potato slips go in 2 to 4 weeks after it.
- Hilling, which means covering the stems with fresh potting mix, increases tuber space and prevents green, bitter potatoes.
- Sweet potatoes are a different plant that grows from slips, needs heat, skips hilling, and must be cured after harvest.
What Is Container Potato Growing?
Container potato growing is a space-saving gardening method that produces potato tubers in buckets, fabric grow bags, barrels or large pots filled with loose potting mix, which lets patio, balcony and small-yard gardeners harvest fresh potatoes without digging a garden bed.
Container growing fits US gardeners with decks, balconies, patios or small yards across USDA Hardiness Zones 3 to 10. The tubers come out smooth. Loose potting mix gives them an even shape, too.
Harvest takes minutes. You tip the container onto a tarp instead of digging, and the whole crop spills out at once. Pots also keep tubers away from soilborne garden-bed pests such as wireworms. During a late frost, you can simply roll the plants under cover.
Two different crops share the potato name. Regular potatoes (Solanum tuberosum) belong to the nightshade family and grow from seed potatoes. Sweet potatoes (Ipomoea batatas), on the other hand, come from the morning glory family and start as rooted cuttings called slips.
Each crop gets its own section here, because the two don’t share timing or heat needs. One season is enough. Learning how to grow potatoes in a container takes just that long, and the same method works for russet, gold, red and fingerling types.
What Size Container Is Best for Potatoes?
The best container for potatoes holds at least 10 gallons (38 L) of potting mix, stands at least 15 inches (38 cm) tall and drains freely, because deeper volume gives the stems room to be covered and gives the tubers space to form.
Smaller containers still work. They just take fewer seed pieces. The table below compares common container sizes with how many seed pieces each one holds and a suitable US variety.
| Container | Volume (Gal / L) | Seed Pieces | Suggested Variety |
|---|---|---|---|
| Bucket | 5 / 19 | 2 | Red Norland |
| Small grow bag | 7 / 26 | 2 to 3 | Yukon Gold |
| Medium grow bag | 10 / 38 | 3 to 4 | Yukon Gold or Dark Red Norland |
| Large grow bag | 15 / 57 | 4 to 5 | Russet Burbank or fingerlings |
| Half whiskey barrel | About 25 / 95 | 6 to 8 | Mixed early and midseason types |
Grow Bags vs Buckets vs Barrels
Fabric grow bags are the best choice for most beginners, because they drain well and keep roots cooler than plastic does. They also fold flat for storage. Buckets cost less. Plastic holds moisture longer, though, and half barrels suit anyone who wants a permanent patio planter.
Each type has a trade-off. The table below compares the main advantage and the main drawback of each container type for potatoes, so you can pick one quickly.
| Container Type | Main Advantage | Main Drawback |
|---|---|---|
| Fabric grow bag | Breathable, drains well, easy to empty | Dries out fast in heat |
| Plastic bucket | Cheap, holds moisture longer | Needs drilled holes, heats up in sun |
| Half whiskey barrel | Large volume, fits many plants | Heavy, hard to move or empty |
| Plastic or clay pot | Easy to find at garden centers | Often too shallow for hilling |
Many grow bags include a side flap that lets you reach in and pull new potatoes early without disturbing the plant. It’s a handy extra.
Can You Grow Potatoes in a 5-Gallon Bucket?
Yes, a 5-gallon (19 L) bucket grows potatoes well as long as it has drainage holes and holds no more than 2 seed pieces, which makes growing potatoes in buckets the cheapest way to start.
Drill first, plant later. Prepare the bucket before planting day, and give yourself enough time to finish all four steps without rushing the drilling:
- Choose a food-grade plastic bucket, preferably a light color that stays cooler in summer sun.
- Drill 8 to 10 holes, each 1/2 inch (13 mm) wide, across the bottom and the lowest 2 inches (5 cm) of the sides.
- Set the bucket on bricks or pot feet so water drains freely.
- Add 4 to 6 inches (10 to 15 cm) of moist potting mix to the bottom.
Hardware stores such as Home Depot and Lowe’s sell 5-gallon buckets, but stick with food-grade ones, which avoid leftover residue from paint or solvents. Reused paint pails don’t qualify.
Which Potato Varieties Grow Best in Containers?
Early and midseason potato varieties grow best in containers, because Red Norland, Yukon Gold, Dark Red Norland and Irish Cobbler mature in roughly 70 to 100 days, set tubers in a compact zone, and finish before summer heat stresses plants in pots.
Late varieties such as Russet Burbank produce large baking potatoes, but they need 110 days or more and a container of at least 15 gallons (57 L). Fingerlings are easier. Russian Banana, for one, fits containers well because its tubers stay small.
Determinate vs Indeterminate Potatoes
Growth habit decides whether extra hilling actually adds more potatoes. Determinate varieties set one layer of tubers just above the seed piece and then stop. Indeterminate types don’t. They keep setting tubers along buried stems for a longer stretch, so every added inch of mix has a chance to pay off.
Here’s how they differ. The table below compares the two growth habits side by side, including how much hilling each one rewards and which varieties fall into each group.
| Growth Habit | Tuber Set | Hilling Benefit | Examples |
|---|---|---|---|
| Determinate | One layer near seed piece | 1 to 2 hillings are enough | Yukon Gold, Red Norland |
| Indeterminate | Several layers along stems | Repeated hilling adds space | Russet Burbank, many fingerlings |
Potato towers that stack soil 3 feet (91 cm) high deliver extra tubers only with late, indeterminate varieties, and even then results vary. Early, determinate types gain little.
Best Red Potatoes for Containers
Red Norland and Dark Red Norland are the best red potatoes for containers, because both mature early and produce smooth, thin-skinned tubers. Larger tubers come from Red Pontiac, though it needs a longer season. For red flesh, try Adirondack Red.
Nothing changes in the method. The steps for how to grow red potatoes in a container match every other variety, from chitting through harvest. Reds shine as new potatoes, so many gardeners pull part of the crop early and leave the rest to size up.
Certified Seed Potatoes vs Store-Bought Potatoes
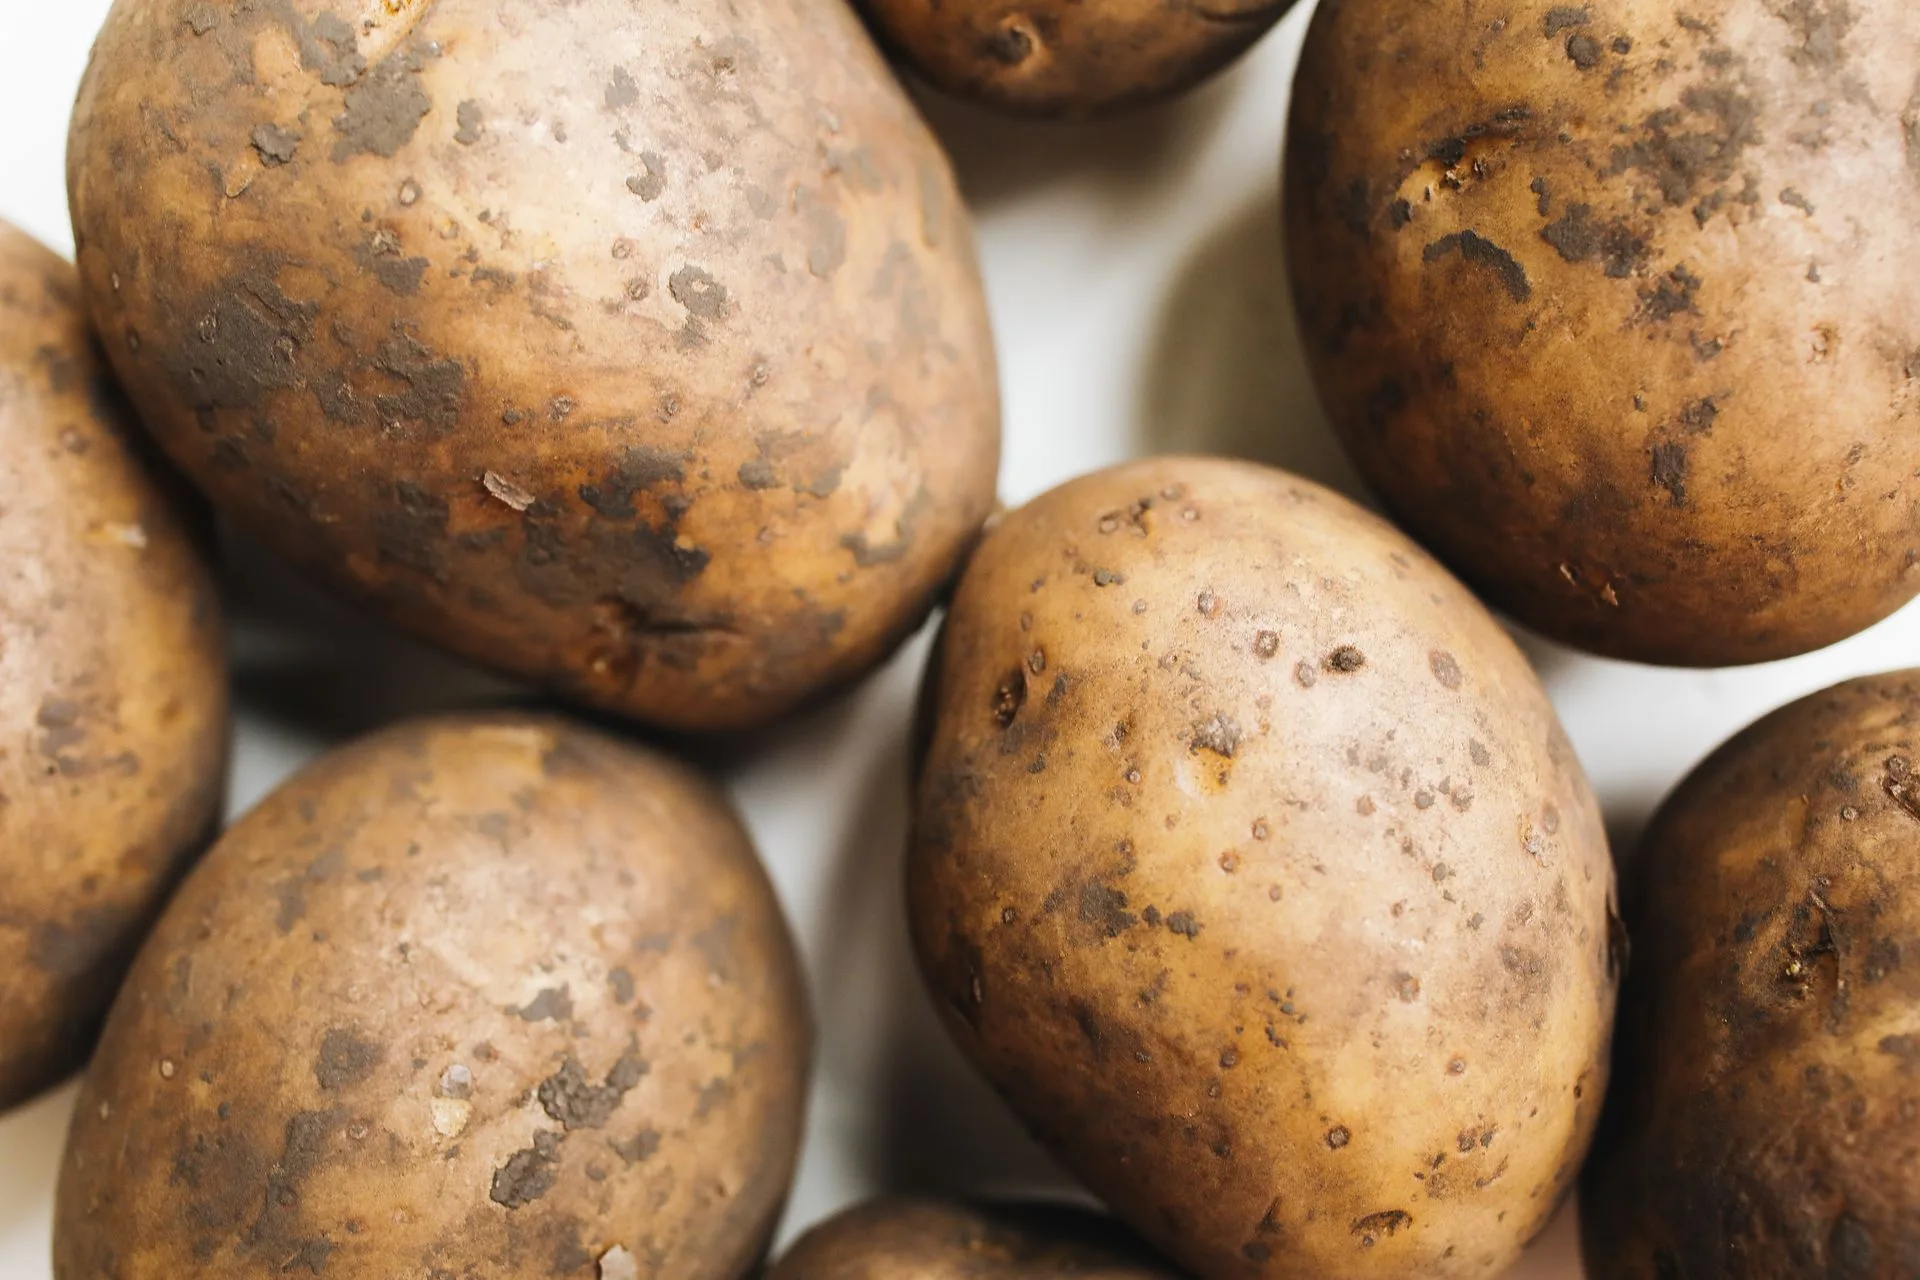
Yes, store-bought potatoes can sprout in a container, but certified seed potatoes are the better choice, because certified seed is inspected for disease and has not been treated with the sprout inhibitors that many grocery store potatoes receive.
Garden centers, Home Depot, Lowe’s and mail-order seed companies sell certified seed potatoes from late winter through spring. Buy early. Getting them 2 to 4 weeks before planting leaves you enough time to chit every piece before it goes into the container.
When Should You Plant Potatoes in Containers?
Plant regular potatoes in containers 2 to 4 weeks before your area’s average last frost date, once the potting mix reaches about 45°F (7°C), and plant sweet potato slips 2 to 4 weeks after the last frost, once nights stay above 55°F (13°C).
USDA Hardiness Zones map average winter low temperatures. They don’t show frost dates. Your county Cooperative Extension office can confirm the local last frost date, and the zone table below works as a starting point once you have it.
Treat these as rough windows. The table below compares approximate planting windows for planting potatoes in containers by USDA zone, for both regular potatoes and sweet potatoes.
| USDA Zone | Potato Planting | Sweet Potato Planting | Notes |
|---|---|---|---|
| 3 to 4 | Late April to mid-May | Mid-June, short-season types only | Short summers favor early varieties |
| 5 to 6 | April | Late May to early June | Main spring crop |
| 7 to 8 | March, plus a late-summer fall crop | May | Two potato crops possible |
| 9 to 10 | January to February, or fall | April to June | Summer heat stops potato growth |
Containers warm up faster than garden soil, so potatoes in them often start growing sooner than in-ground plants usually do. That head start has a risk. When a hard frost threatens young shoots, move the containers into a garage or under a covered porch.
How to Grow Potatoes in a Container Step by Step
To grow potatoes in a container, chit certified seed potatoes, cut them into pieces with 2 or more eyes, plant them 4 inches (10 cm) deep in a draining container, then add potting mix around the stems until the container is nearly full.
Gardeners who ask how do you grow potatoes in a pot follow these same steps, whether the pot holds 5 gallons or 25. Only the seed piece count changes.
Prepare and Chit Seed Potatoes
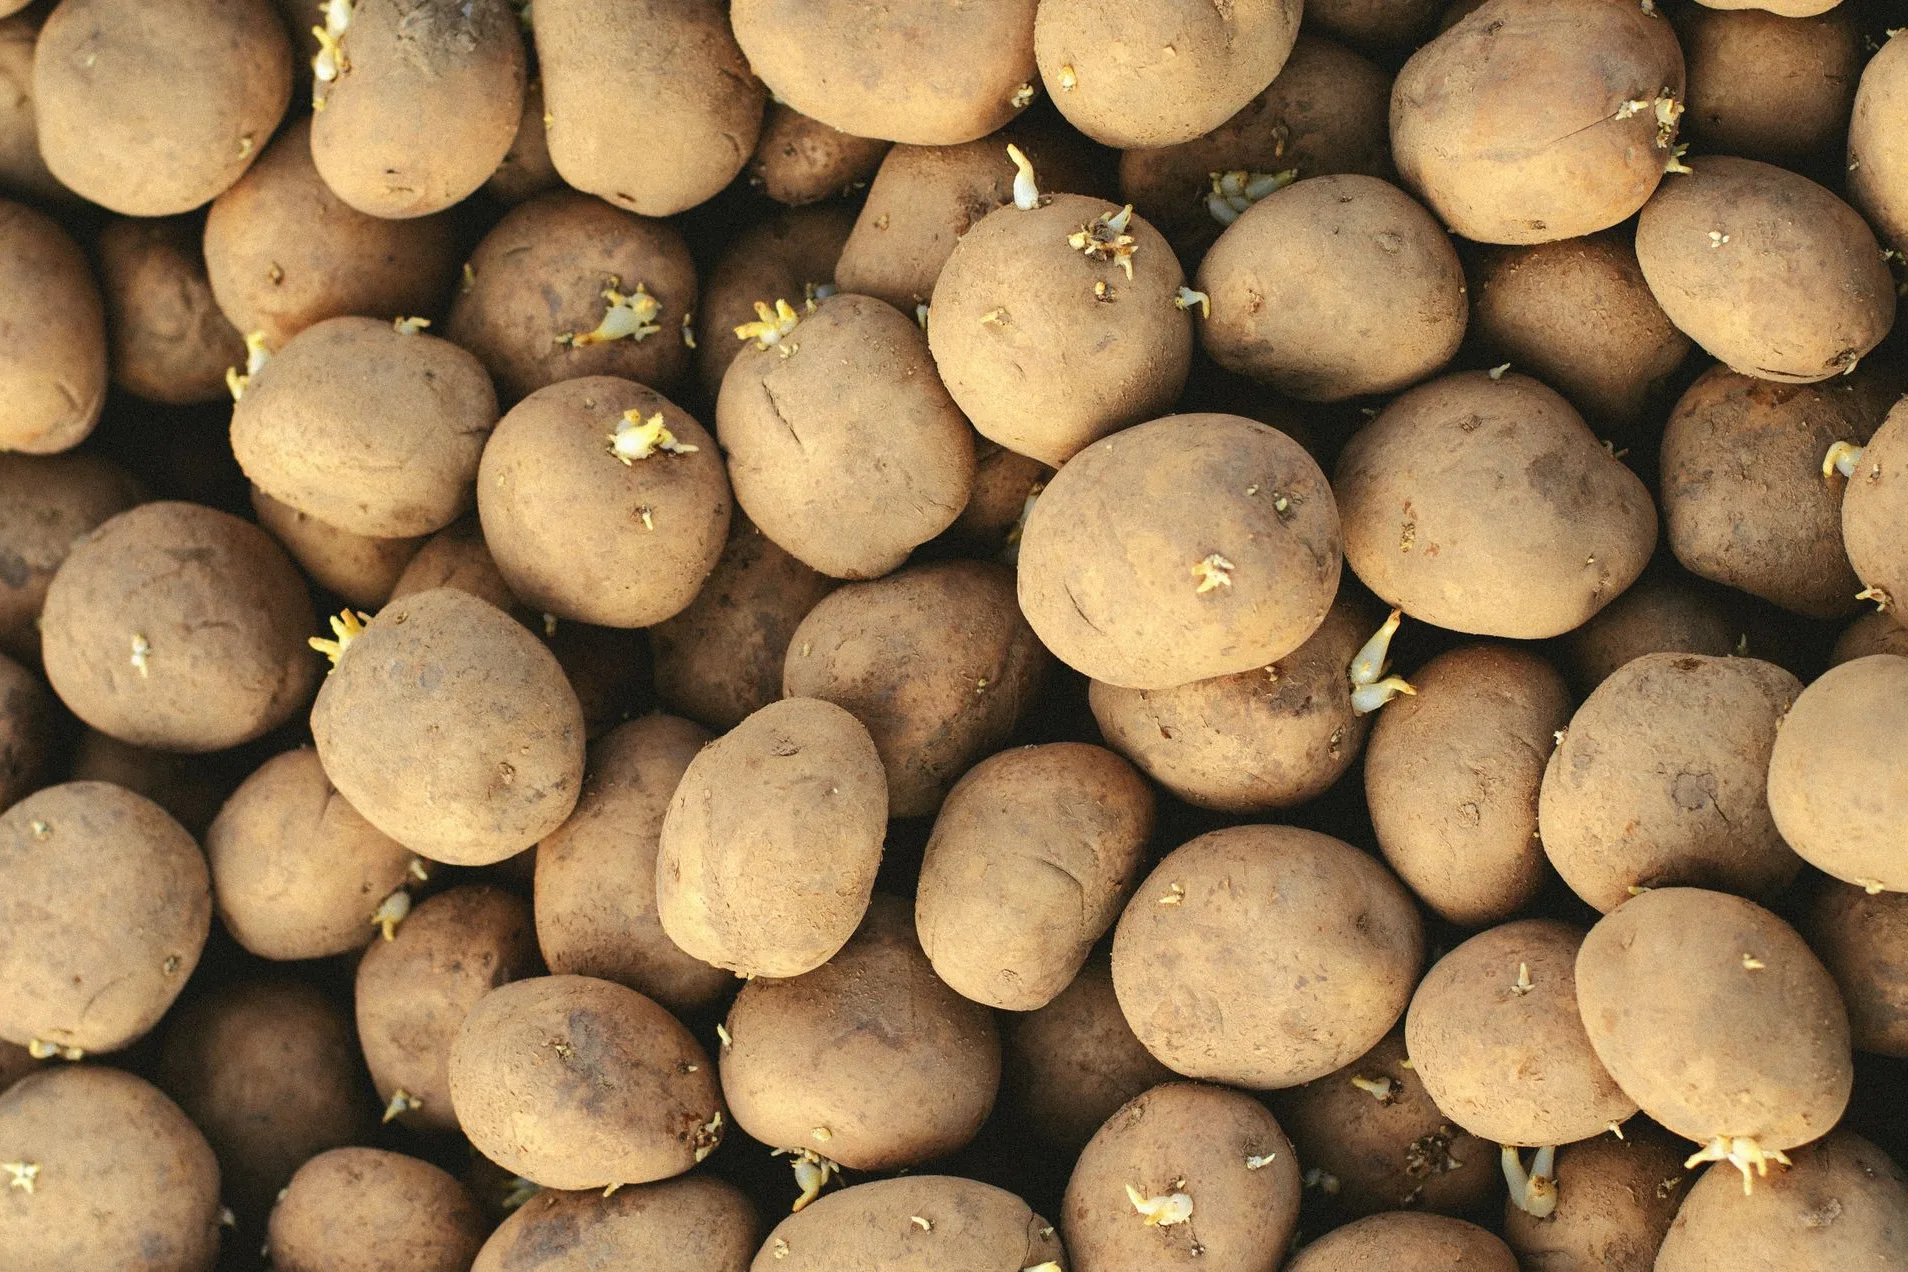
Chitting is the practice of pre-sprouting seed potatoes before planting, which gives plants a faster start once they’re in the mix. It takes a few weeks.
- Spread seed potatoes in an egg carton or shallow tray with most of the eyes facing up.
- Place the tray in bright, indirect light at 60 to 70°F (16 to 21°C) for 2 to 4 weeks.
- Wait until sprouts reach 1/2 to 1 inch (1 to 2.5 cm) long, short and green.
- Cut tubers larger than a hen’s egg into pieces of 1.5 to 2 ounces (40 to 55 g), each with 2 or 3 eyes.
- Let the cut pieces dry for 1 to 2 days so the surfaces callus over.
- Keep small seed potatoes whole.
Plant the Seed Pieces
Use a blend of 2 parts quality potting mix to 1 part compost. Skip garden soil. It packs down inside containers and slows drainage, which leaves seed pieces sitting in wet mix for far too long.
- Fill the container with 4 to 6 inches (10 to 15 cm) of moist potting mix.
- Mix in a slow-release balanced fertilizer at the rate on the label.
- Set the seed pieces cut side down and sprouts up, spaced about 6 inches (15 cm) apart.
- Cover the pieces with 4 inches (10 cm) of potting mix.
- Water until moisture drains from the bottom holes.
- Place the container where it receives 6 to 8 hours of direct sun.
Hill the Plants as They Grow
Hilling is the practice of adding potting mix around growing stems, which protects tubers from light and gives them room to form. Plan on doing it more than once.
- Wait until the stems reach 6 to 8 inches (15 to 20 cm) tall.
- Add potting mix until only the top 2 to 3 inches (5 to 8 cm) of leaves show.
- Repeat each time the plants grow another 6 to 8 inches (15 to 20 cm).
- Stop when the mix sits 1 to 2 inches (2.5 to 5 cm) below the rim or the plants begin to flower.
Grow bags with roll-down sides make hilling easy. Start with the sides rolled down low, then unroll them a few inches at a time as you add fresh mix. The bag grows with the plant.
How Do You Care for Potatoes in Pots?
Potatoes in pots need 6 to 8 hours of direct sun each day, potting mix kept evenly moist but never soggy, and a light feeding of balanced or low-nitrogen fertilizer, because containers dry out and lose nutrients faster than garden beds do.
Good care after planting potatoes in pots decides whether each plant fills its container with tubers or leaves you with a handful. Neglect shows up fast.
Sunlight and Heat
Place containers in the sunniest spot you have, such as a south-facing patio or balcony. Shade costs you. Potatoes grown in heavy shade stretch into tall, weak stems and set only a few tubers at the base of the plant.
Potatoes prefer cool weather. Tuber formation slows when the root zone climbs above about 80°F (27°C), so shade the container sides, not the leaves, during hot spells. Grouping containers together helps, and so does wrapping dark pots in burlap.
Watering
Check moisture every day by pushing a finger 2 inches (5 cm) down into the mix, right near the center of the container. Dry at that depth? Water deeply until it drains out the bottom.
Summer heat often means watering daily, and fabric grow bags dry out fastest of all. Consistency matters most. Wild swings from bone dry to soaked cause cracked and knobby tubers, and they can leave the centers hollow as well.
Ease off once the foliage starts yellowing, and stop watering entirely when it dies back to the ground. Dry mix helps. At harvest time, it lets tuber skins firm up before you tip the potatoes out of the container for storage.
Fertilizing
Feed potatoes lightly. A slow-release balanced fertilizer at planting plus one side-dressing at the first hilling covers what most container plants need all season.
Too much nitrogen backfires. Plants put that energy into lush leaves and set few tubers underneath. Skip fresh manure and garden lime as well, because both raise the risk of potato scab developing on the skins.
How Long Does It Take to Grow Potatoes in a Container?
Potatoes take 70 to 120 days to grow in a container depending on variety, with early types such as Red Norland ready in about 70 to 90 days, midseason types such as Yukon Gold in about 80 to 100 days, and late russets in 110 days or more.
The answer to how long to grow potatoes in a container also depends on which harvest you’re after. New potatoes come first. Full-size storage potatoes take longest, since they need extra time in the container for their skins to thicken before harvest.
Watch the foliage. The table below matches each harvest stage to its timing and to the visual cue that tells you it’s ready.
| Harvest Stage | Days After Planting | Visual Cue | Best Use |
|---|---|---|---|
| New potatoes | 60 to 70 | Plants begin flowering | Boiling or roasting whole |
| Early varieties | 70 to 90 | Foliage yellows and dies back | Fresh eating within weeks |
| Midseason varieties | 90 to 110 | Foliage yellows and dies back | Short-term storage |
| Late varieties | 110 to 135 | Foliage fully dies back | Long-term storage |
How to Harvest Container Potatoes
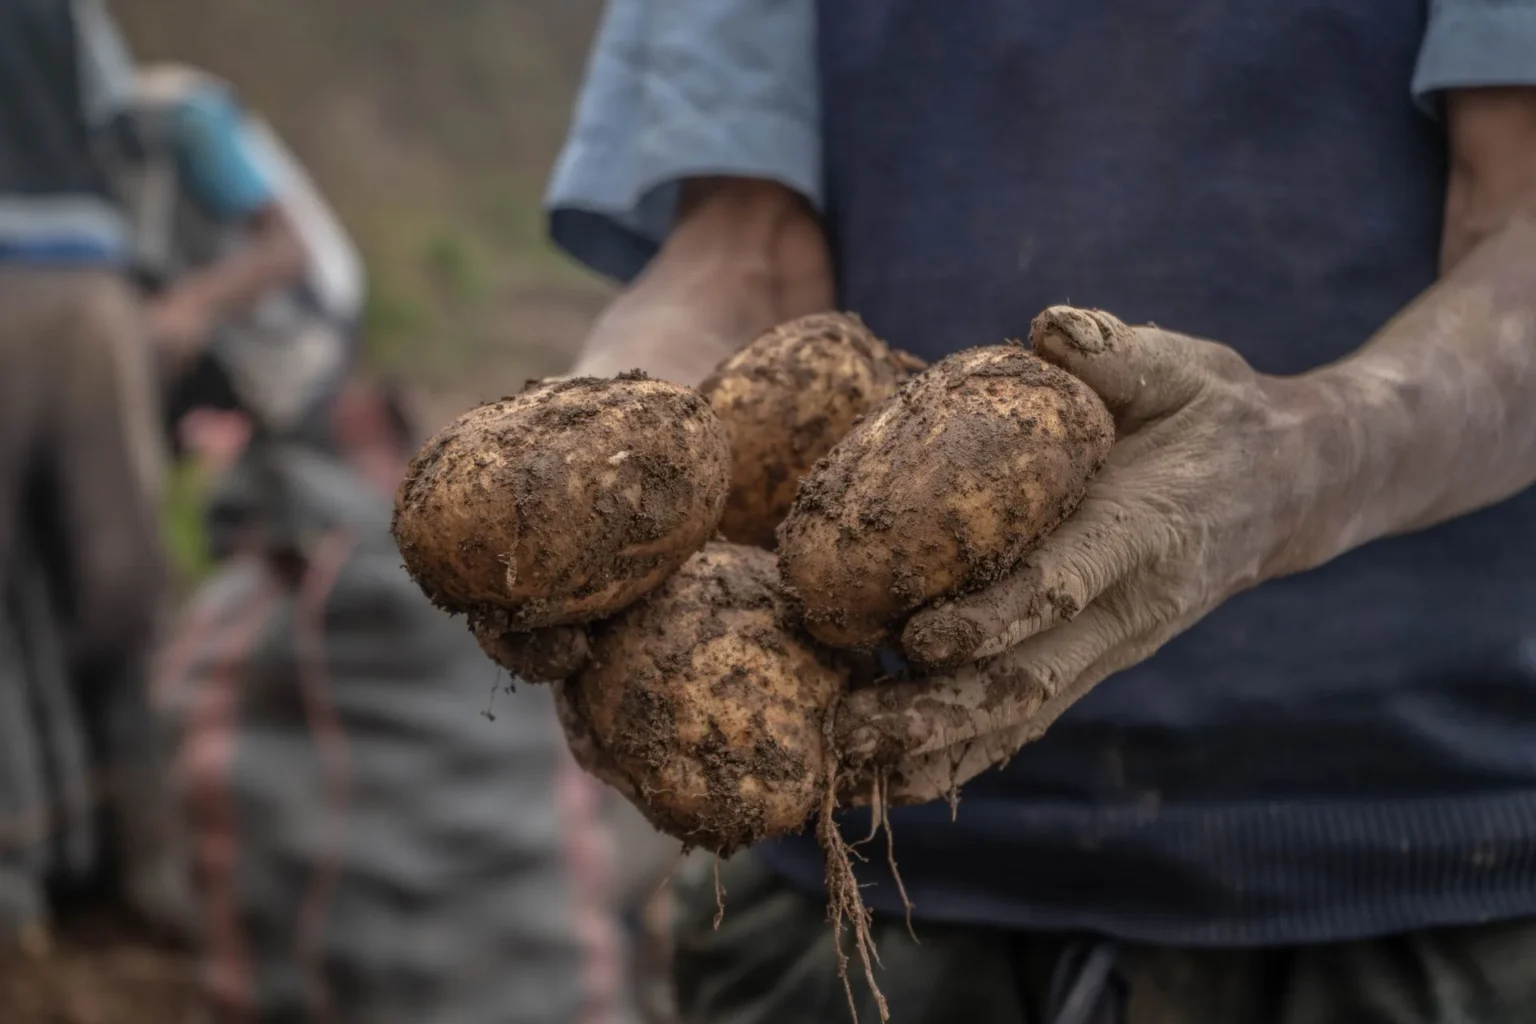
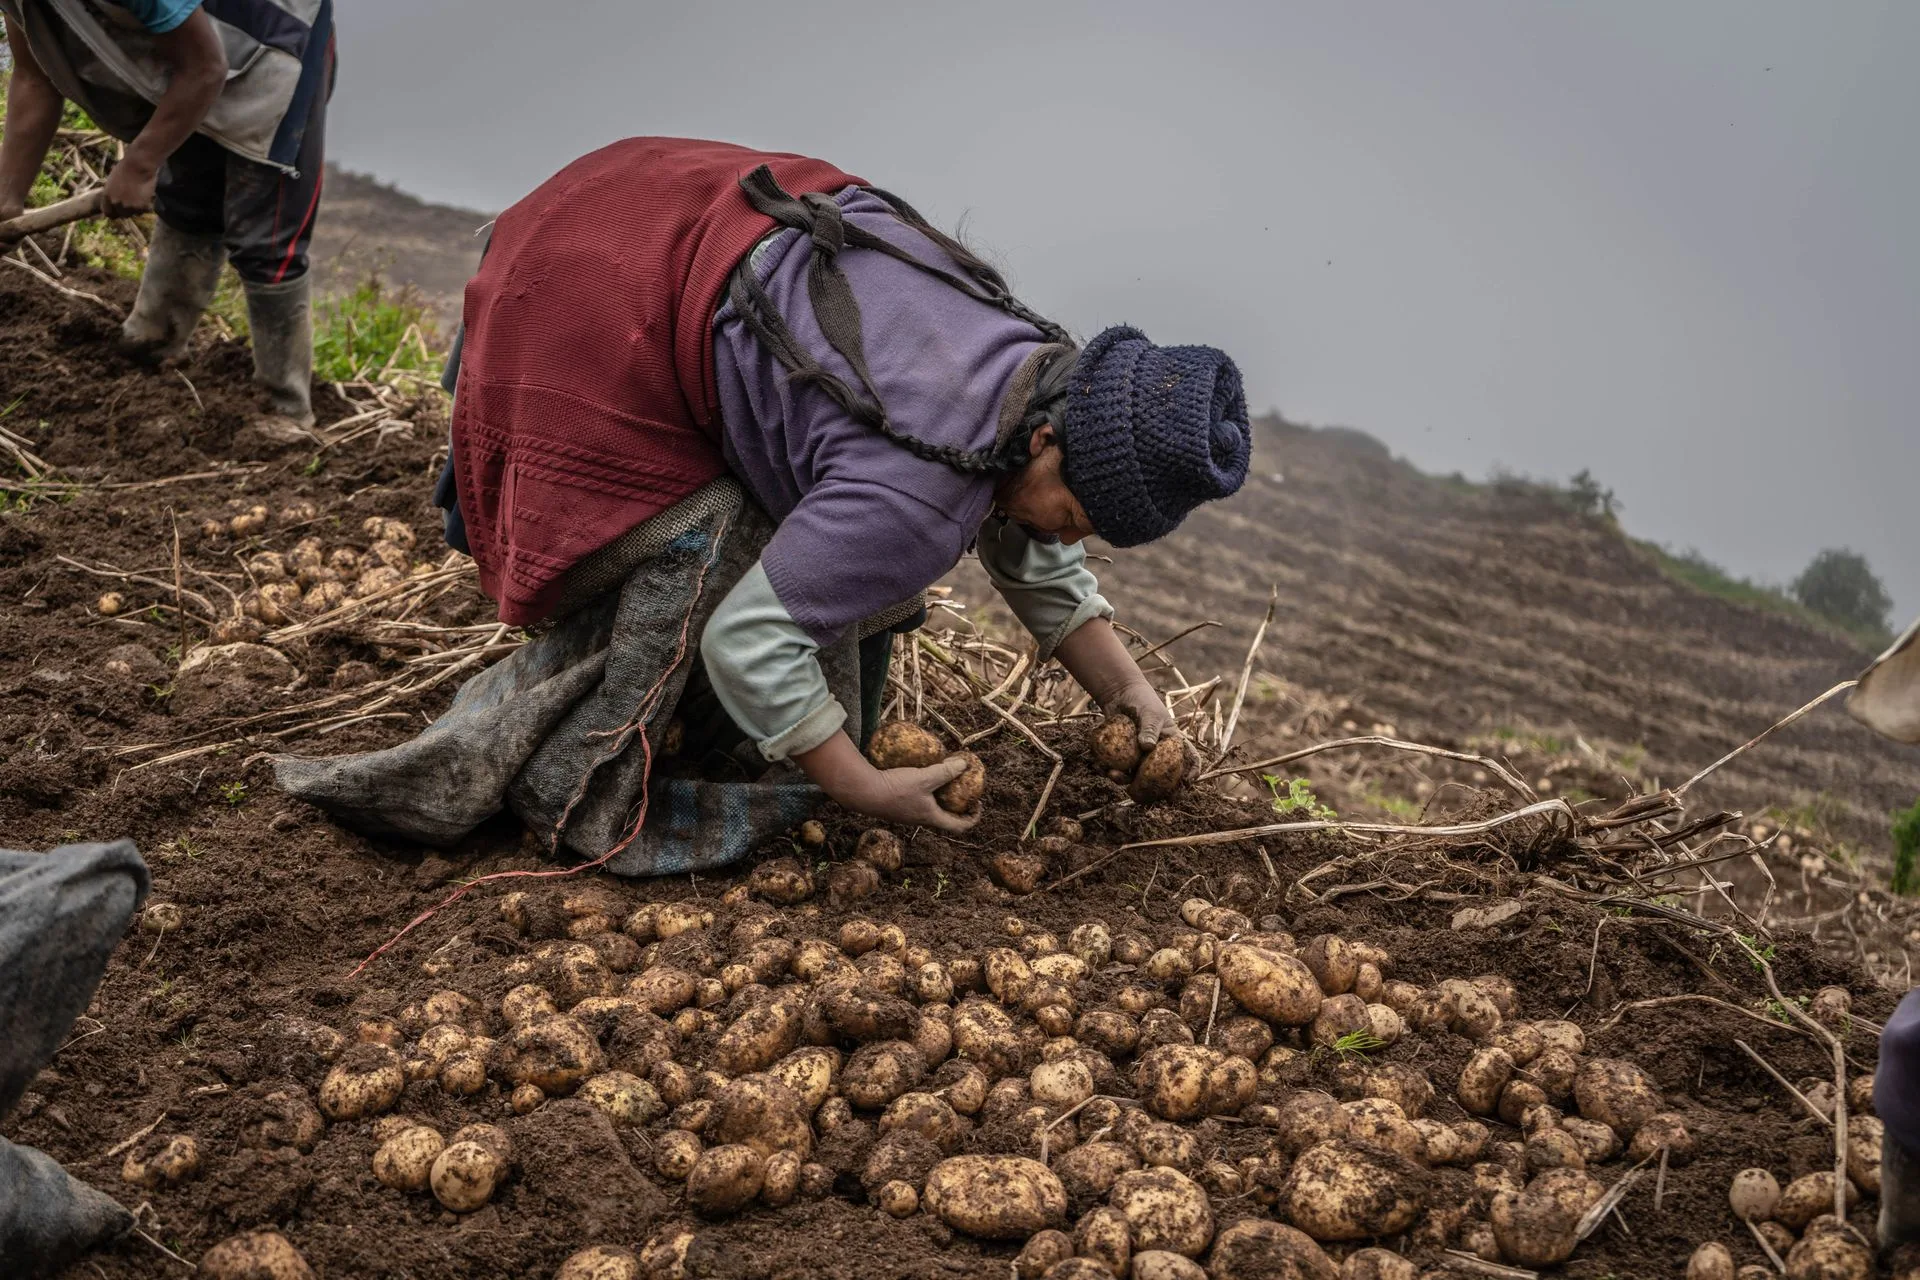
Container potatoes are ready for a main harvest about 2 weeks after the foliage dies back, because the waiting period lets skins thicken for storage. Patience pays here.
- Stop watering once the foliage turns yellow.
- Wait 2 weeks after the stems die back completely.
- Tip the container onto a tarp or into a wheelbarrow.
- Sort the tubers out of the potting mix by hand to avoid cuts.
- Brush off loose soil, and skip washing potatoes you plan to store.
- Cure the potatoes for 1 to 2 weeks in a dark spot at 50 to 60°F (10 to 16°C).
- Store cured potatoes in the dark at 40 to 50°F (4 to 10°C), away from apples and onions.
Keep them out of the fridge. Refrigerator temperatures turn potato starch into sugar, which gives cooked potatoes a sweet taste and a dark color when they’re fried.
How Do You Grow Sweet Potatoes in a Container?
To grow sweet potatoes in a container, plant 1 to 2 rooted slips in a 15- to 20-gallon (57 to 76 L) container of loose potting mix after nights stay above 55°F (13°C), give the vines full sun and steady water, and harvest in 90 to 120 days.
Learning how to grow sweet potatoes in a container starts with a simple fact: you’re dealing with an entirely different plant. Sweet potatoes are heat-loving vines from the morning glory family. Frost kills them.
Bush Porto Rico is the best sweet potato for containers, because it grows compact vines. Beauregard works too. Georgia Jet also suits containers, and it matures quickly enough to finish during the shorter summers that northern gardeners get. In long, hot Southern seasons, Covington produces well.
Potatoes vs Sweet Potatoes at a Glance
Sweet potatoes want more heat and a longer season than regular potatoes do. They also skip hilling. The table below compares the two crops feature by feature, from plant family and planting material through curing after harvest.
| Feature | Potatoes | Sweet Potatoes |
|---|---|---|
| Plant family | Nightshade | Morning glory |
| Planting material | Seed potatoes | Rooted slips |
| Planting time | 2 to 4 weeks before last frost | 2 to 4 weeks after last frost |
| Minimum soil temperature | About 45°F (7°C) | About 60 to 65°F (16 to 18°C) |
| Hilling | Yes | No |
| Days to harvest | 70 to 120 | 90 to 120 |
| Container size | 10 gal (38 L) or larger | 15 to 20 gal (57 to 76 L) |
| Curing | 1 to 2 weeks, cool and dark | 7 to 10 days, warm and humid |
How to Plant Sweet Potato Slips
Anyone asking how to grow sweet potato in a container starts with a slip, not a tuber, so planting looks nothing like it does for regular potatoes. Slips are leafy shoots. Each one grows from a mature sweet potato.
Garden centers and mail-order growers sell slips in spring. Homegrown slips cost less. To grow your own from a single organic sweet potato sitting in a jar of water on a sunny windowsill, follow these steps:
- Suspend an organic sweet potato halfway in a jar of water with toothpicks, 6 to 8 weeks before planting.
- Keep the jar in a warm, bright spot and change the water every few days.
- Twist off sprouts once they reach about 6 inches (15 cm) long.
- Set the sprouts in water until roots form.
Planting is quick. Set the slips into their container this way once nights stay above 55°F (13°C) and the potting mix has warmed:
- Fill the container with potting mix to 1 to 2 inches (2.5 to 5 cm) below the rim.
- Bury each slip up to its top few leaves.
- Water daily for the first week while roots establish.
- Place the container in full sun, ideally against a warm wall.
- Feed with a low-nitrogen fertilizer, because extra nitrogen grows vines instead of roots.
Sweet potato vines spread several feet. Let them trail over the container edge, but lift any that start rooting into the ground nearby so energy stays in the container.
How to Harvest and Cure Sweet Potatoes
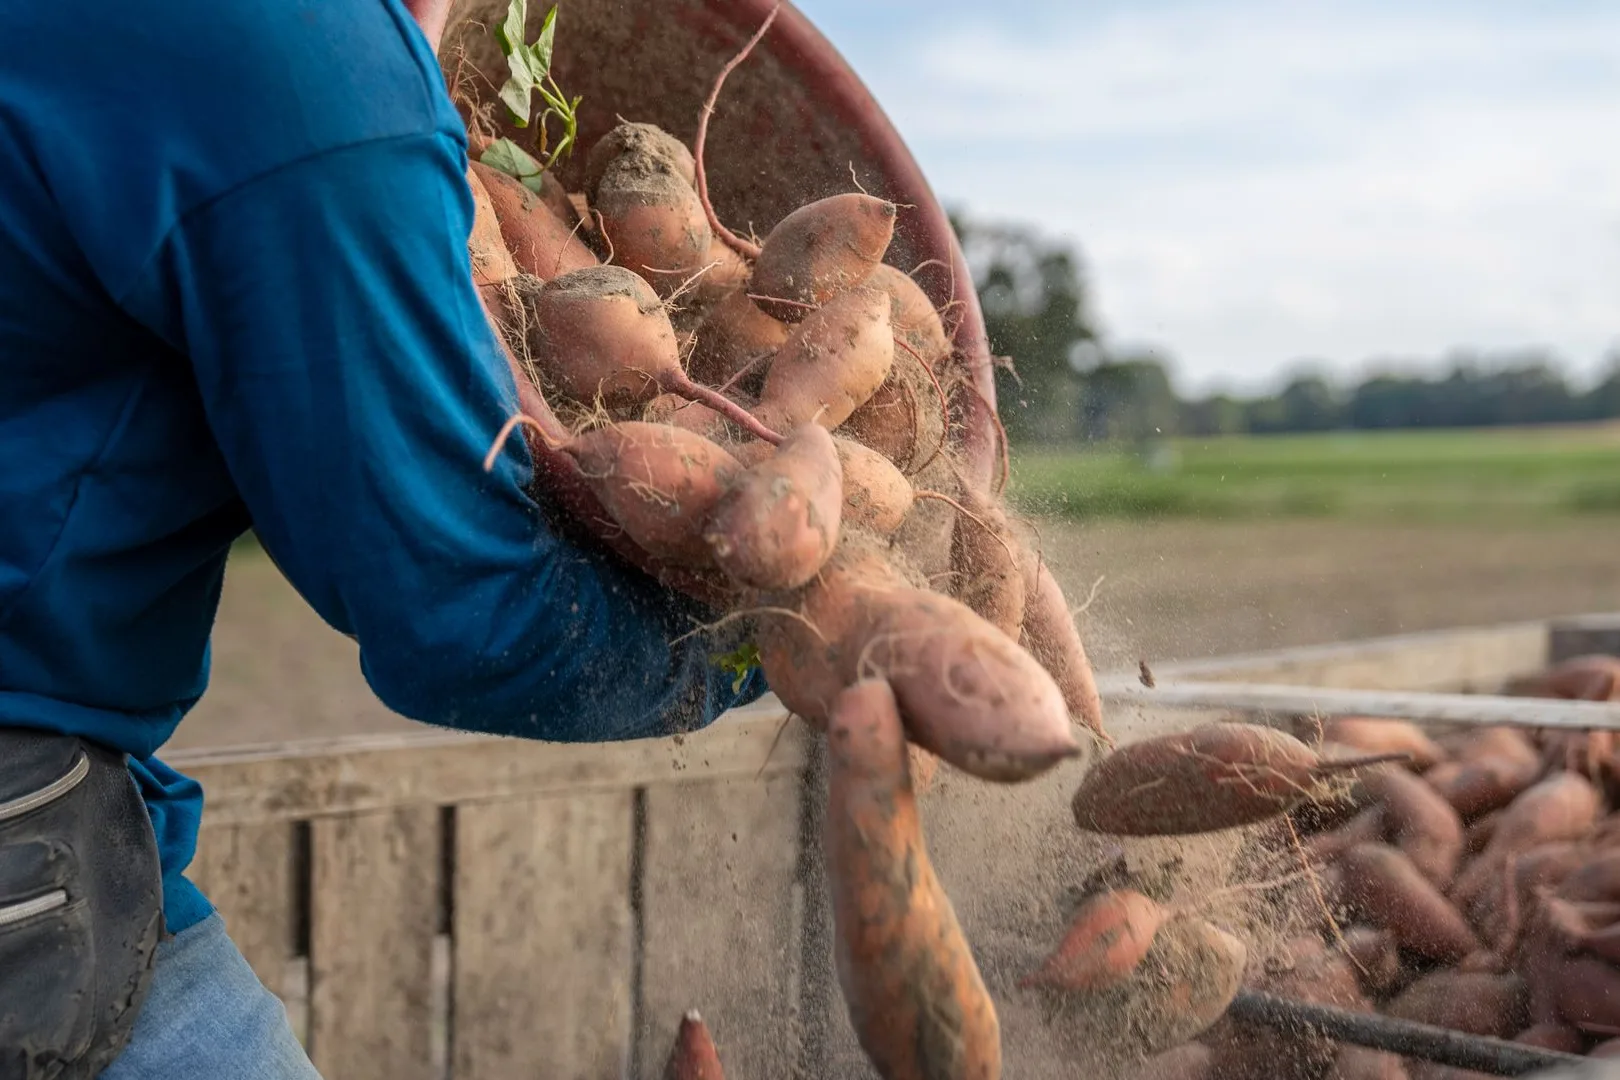
Harvest sweet potatoes when the variety reaches maturity or just before the first fall frost, whichever of the two comes first. Timing matters. Cold soil below 55°F (13°C) damages the roots.
- Cut back the vines a few days before harvest.
- Tip the container gently, because sweet potato skins bruise easily.
- Cure the roots for 7 to 10 days at 80 to 85°F (27 to 29°C) and 85 to 90% humidity.
- Store cured sweet potatoes at 55 to 60°F (13 to 16°C), never in the refrigerator.
A warm room with a space heater and a humidifier works well for curing at home. Then wait. Flavor sweetens during the first few weeks of storage, as the starches inside the roots slowly convert to sugars.
What Problems Affect Container Potatoes?
The most common container potato problems are green tubers, Colorado potato beetles, late blight, potato scab and uneven watering, and each one is preventable with full soil cover, weekly leaf checks, fresh potting mix and consistent moisture.
Check every week. A weekly look at both the tops and undersides of the leaves catches most problems early, before they spread to the rest of the plant.
Green Potatoes and Solanine
Green potato skin signals exposure to light, which also raises levels of solanine, a natural toxin with a bitter taste. The green color itself is chlorophyll. Still, it marks the spots where solanine has built up under the skin, so treat any green patch as a warning.
Cut away all green areas and sprouts before cooking, and throw out any tubers that are green all the way through. Prevention is simple. Hilling keeps tubers covered, so greening never starts.
Pests and Diseases
Container potatoes avoid many soil pests, but leaf-eating insects and airborne diseases still find them on a patio or balcony. Nowhere is fully safe. The table below matches each common problem with its telltale sign and the fix that works.
| Problem | Sign | Fix |
|---|---|---|
| Colorado potato beetle | Striped adults, orange egg clusters under leaves | Handpick into soapy water |
| Aphids | Clusters of small insects on new growth | Spray off with water |
| Late blight | Dark, water-soaked spots, white fuzz underneath | Bag and trash plants, never compost |
| Early blight | Ring-patterned spots on lower leaves | Remove affected leaves promptly |
| Potato scab | Rough, corky patches on skins | Use fresh mix, skip lime |
| Early yellow leaves | Yellowing before plants mature | Check for overwatering or low nitrogen |
Late blight (Phytophthora infestans) spreads quickly in cool, wet weather, and the USABlight network tracks outbreaks across the country so you can watch for nearby reports. Not all yellowing is trouble. Yellow leaves near the end of the season are normal and simply signal harvest time.
Frequently Asked Questions
Can Potatoes Grow on a Shaded Balcony?
No. Potatoes that get fewer than 6 hours of direct sun each day grow leggy stems and very few tubers. A shaded balcony suits lettuce and herbs better, while potatoes belong in the sunniest spot available on any patio or deck.
Do Sweet Potatoes Need Hilling?
No. Sweet potatoes form storage roots at the base of the planted slip, not along buried stems the way regular potatoes do. Mulch helps instead. A layer of straw or shredded leaves holds moisture better than added soil.
Can You Reuse Potting Mix After Growing Potatoes?
Yes, but only for unrelated crops. Skip potatoes, tomatoes, peppers and eggplant in that potting mix next year, since these nightshades share many of the same diseases. Refresh the used mix with compost, then plant beans or lettuce. Flowers work too.
Can You Grow Potatoes in a Container Indoors?
Yes, with strong artificial light. Window light rarely supports tuber formation, so potatoes grown indoors need an LED grow light placed close to the foliage. A cool room helps too.
How Many Potatoes Does One Container Produce?
No verified average figure is available. Yield depends on variety, container size, sunlight and watering consistency, so two identical buckets on different patios can produce very different harvests. Bigger containers with steady care produce more, and late varieties usually outyield early ones.
Conclusion
Knowing how to grow potatoes in a container turns one season of buckets or grow bags into a repeatable harvest, and each year adds sharper timing, better variety choices and a growing sense of which containers suit your patio, balcony and local climate.
Start next season with one bucket of an early red variety and one large grow bag of sweet potatoes, side by side on the same patio. Then keep notes. Write down when you planted and when you harvested. Note your watering habits too.
Planting potatoes in container gardens also opens the door to fall crops in warm zones and to staggered plantings that keep new potatoes coming all season. Fingerlings are worth a try, too. Change one variable at a time and track the result, and each year’s harvest will beat the last.