Blueberries reward patience more than any other fruit in the home garden. A bush planted this spring won’t hand you a real harvest for two to three years, but once it does, that same plant can keep producing for two decades or longer. Learning how to grow blueberries comes down to four things you control from day one: soil acidity, sunlight, consistent moisture, and variety selection matched to your climate. Get those right, and the rest of the process (mulching, feeding, pruning) is mostly maintenance.
This guide walks through every stage, from picking a cultivar suited to your USDA hardiness zone to troubleshooting a bush that won’t fruit.
What Makes Blueberries Different From Other Garden Fruit
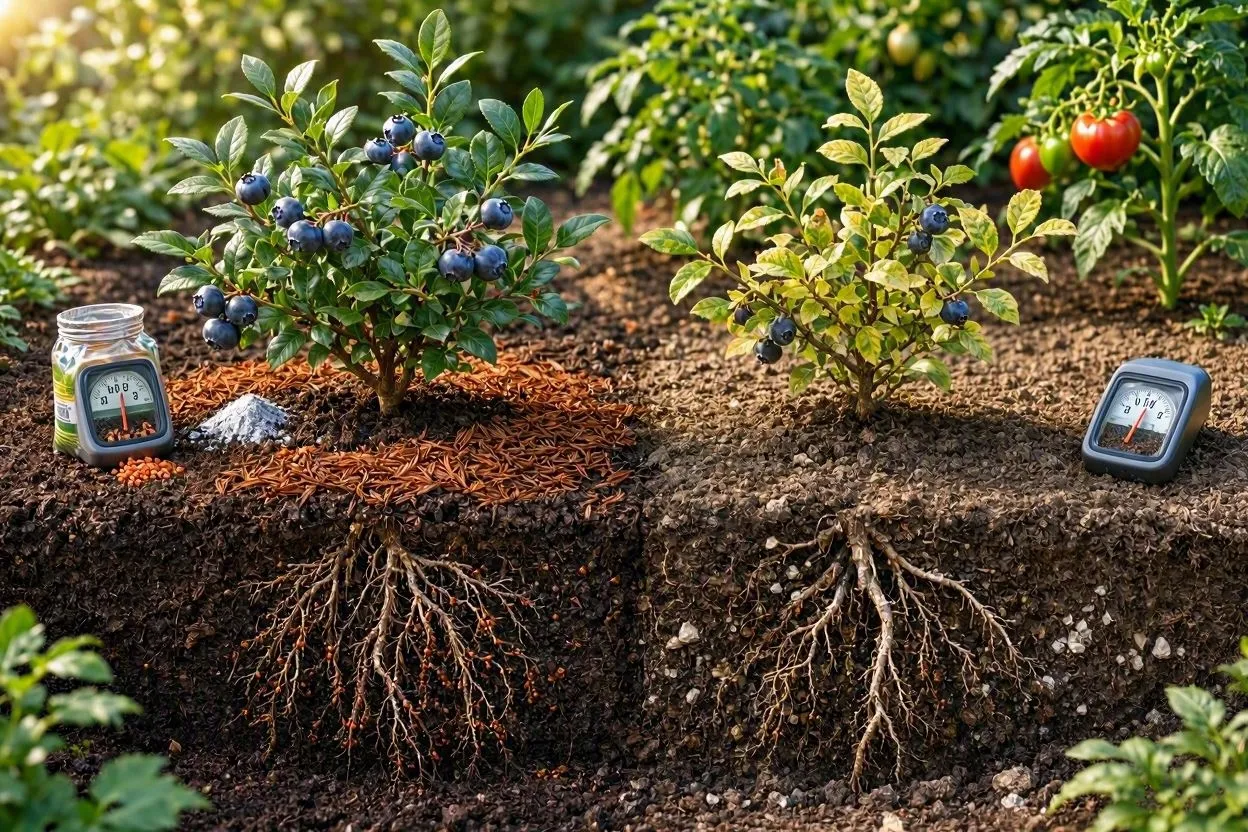
Blueberries need much more acidic soil than most garden plants: a pH of 4.0 to 5.5, compared to the 6.0 to 6.8 that tomatoes or peppers like. Plant one in ordinary garden loam without adjusting the pH first, and the roots simply can’t absorb iron and other nutrients, no matter how much fertilizer you add. That single fact explains most of the other rules in this guide: sulfur, pine-needle mulch, and acid fertilizer all exist to keep the root zone acidic enough for the plant to work.
A quick check: blueberries are related to azaleas and rhododendrons. If those already grow well in your yard, your soil is probably acidic enough for blueberries too.
Choosing the Right Blueberry Type for Your USDA Zone
Match your blueberry type to your USDA hardiness zone before buying plants, because the five main types tolerate very different climates. If you don’t already know your zone, look it up on the official USDA Plant Hardiness Zone Map.
| Type | Botanical name | USDA zones | Mature size | Notes |
| Northern highbush | Vaccinium corymbosum | 4–7 | Full-size shrub | Needs real winter chill |
| Lowbush | Vaccinium angustifolium | 3–7 | Under 18 in | Stays low-growing and cold-hardy |
| Half-high hybrids | University of Minnesota crosses | 3–4 | Under 5 ft | Bred for extreme cold; e.g. ‘Northblue’ (3–9 lb/bush), ‘Chippewa’ (3–8 lb/bush) |
| Southern highbush | Hybrid cultivars | Warmer zones (Carolinas to central Texas) | Full-size shrub | Needs fewer chill hours; e.g. ‘Ozark Blue’ |
| Rabbiteye | Vaccinium virgatum | 7–9 | Up to 12 ft if unpruned | Heat-tolerant; most need a second cultivar nearby for pollination |
Planting two or three varieties within the same type extends the harvest and boosts yield. Southern growers lean on rabbiteye cultivars like ‘Climax’ and ‘Tifblue,’ which handle Arkansas and Georgia summers well but need that second cultivar nearby to set fruit. A single ‘Bluecrop’ bush fruits alone, but paired with ‘Duke’ or ‘Patriot,’ cross-pollination improves berry size and total yield.
Getting the Soil pH Right Before You Plant
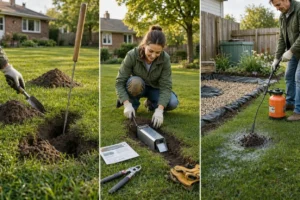
Test your soil’s pH at least six months before planting, because sulfur amendments take that long to fully change the soil chemistry. A simple test kit from a garden center works for a rough reading; a lab test through your local Cooperative Extension office gives you exact numbers and a specific sulfur recommendation.
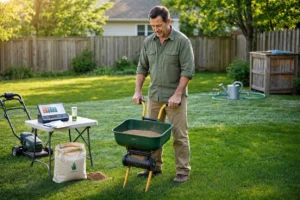
If your soil pH sits above 5.5, add elemental sulfur to the planting area the fall before you intend to plant in spring. Sulfur is sold as granules or pellets and is safer to handle than the powdered form, which can be inhaled. The amount needed depends on your starting pH and soil type: clay soil requires significantly more sulfur than sandy soil to reach the same target pH, so follow the product label rather than a flat, one-size number.
Gardeners who need to plant immediately, without six months to wait for sulfur to work, can mix sphagnum peat moss into the planting area instead.
- Dig 4 to 6 inches of peat into the top 6 to 8 inches of soil, across a 2- to 3-foot-wide strip, not just the individual planting hole, since blueberry roots spread outward and need acidic soil well beyond the original hole
- Soil starting closer to neutral, around pH 7.0, needs the higher end of that range (5 to 6 inches of peat)
- Soil already at pH 5.5 to 6.0 needs less peat, closer to the 4-inch minimum
- Coffee grounds do not reliably acidify soil: the grounds aren’t always acidic themselves, and even when they are, the volume required to shift garden-bed pH is far beyond what any household produces from daily use, so skip this method and use sulfur or peat instead
- Retest the soil about six months after planting to confirm the amendment worked
- Check pH every one to two years afterward, since soil naturally drifts back toward its original level as amendments break down. Ongoing monitoring, not a one-time fix, keeps blueberries healthy long-term
How to Plant Blueberry Bushes Step by Step
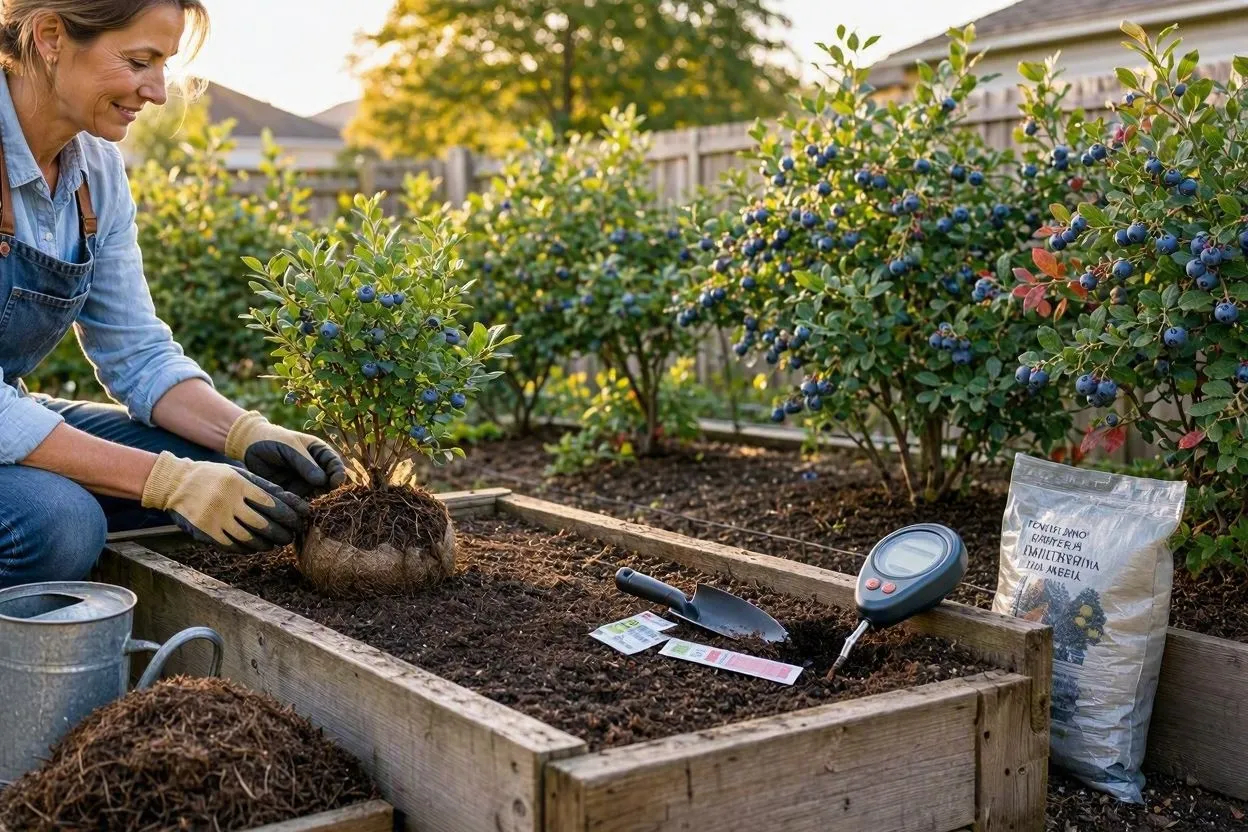
Plant blueberry bushes in early spring while they’re still dormant, in a sunny, well-prepared spot, following these steps:
- Space the plants. Set bushes 3 to 5 feet apart depending on the mature size of the variety. Compact half-high types like ‘Northsky’ need only 2 to 3 feet between plants; full-size highbush varieties like ‘Bluecrop’ need closer to 5 feet, and rabbiteye types spreading to 8 feet or more need even wider rows.
- Choose a full-sun site. Aim for a minimum of six hours of direct light daily, and ideally eight or more. A bush planted under partial shade from nearby trees will produce fewer blossoms and smaller berries, and dense tree cover also blocks the airflow that helps prevent spring frost damage and fungal disease.
- Dig the hole. Make it roughly twice the width of the root ball and no deeper than the ball itself; planting too deep smothers the shallow root system blueberries rely on.
- Prepare the plant before it goes in. Bare-root plants ordered online typically arrive dormant; keep them in a cool, dark, moist location until you’re ready to plant, and soak the roots in a bucket of water for one to two hours beforehand. Potted nursery plants should go into the ground as soon as possible after purchase, watered well in the meantime.
- Backfill and mulch. Mix native soil with peat moss or another acidic amendment, pack it firmly around the roots, then water thoroughly to eliminate air pockets. Finish with 2 to 4 inches of mulch, leaving a small gap around the base of the stem to prevent rot.
Watering Blueberries the Right Way
Water newly planted blueberry bushes with about 1 to 2 inches per week, adjusting for rainfall, and expect established plants to need less once their root systems mature. Blueberry roots are shallow and fibrous, closer to the soil surface than most fruiting shrubs, which makes the plant more sensitive to both drought and standing water.
Drip irrigation delivers water slowly and directly to the root zone, which suits blueberries better than overhead sprinklers. A bush watered by a drip line for 30 to 45 minutes, two to three times per week during a dry summer stretch, generally stays evenly moist without waterlogging the soil. Container-grown plants dry out faster and often need daily checks during hot weather, since pots hold far less water reserve than ground soil.
Avoid letting the root zone dry out completely, especially while fruit is forming in early summer; moisture stress during that window directly reduces berry size. At the same time, soil that stays saturated for days invites root rot, particularly in heavier clay soils that drain poorly. If your soil is dense clay, plant in a raised bed or mounded row instead of a flat in-ground bed to improve drainage.
Mulching: The Step Most Gardeners Skip
Apply 2 to 4 inches of acidic mulch around each blueberry bush every year, because mulch does three jobs at once: it holds moisture, suppresses weeds, and slowly lowers soil pH as it breaks down. Pine bark, pine needles, sawdust, and oak leaves all work well and share the same acidifying property.
Replenish mulch annually, since it decomposes and thins out over a single growing season. Keep the mulch layer a few inches away from the base of the main stem; piling it directly against the bark traps moisture against the plant and encourages rot.
Avoid well-rotted manure and mushroom compost as mulch for blueberries specifically. Both amendments tend toward alkaline pH and work directly against the acidic soil environment you spent months establishing. A bag of composted manure that improves a tomato bed can undo a full season of sulfur treatment in a blueberry bed.
Fertilizing Blueberries: Exact Amounts and Timing
Wait until new growth appears before fertilizing a newly planted blueberry bush; never fertilize at the moment of planting. Applying fertilizer to unestablished roots can burn them before the plant has a chance to take hold.
| When | Product | Amount | How to apply |
| At planting | None | N/A | Do not fertilize; wait for new growth |
| Once new growth begins | 10-10-10 fertilizer | 2 tablespoons per plant | 12-inch band around the base |
| 6 weeks after that | Ammonium sulfate | 1 tablespoon per plant | Same 12-inch band around the base |
| Established plants with pale/reddish leaves | Acid fertilizer (azalea/rhododendron formula) | Per label | Sign of nitrogen deficiency or off-range pH |
| Organic alternative | Soybean, alfalfa, or cottonseed meal | 2 lbs per 100 sq ft | Releases nitrogen gradually across the season |
Some growers prefer that organic nitrogen route over synthetic blends specifically to avoid the salt buildup that can come from repeated synthetic fertilizer use.
Overfeeding causes more problems than underfeeding with blueberries. Excess fertilizer, particularly high-nitrogen blends applied late in the season, pushes soft new growth that doesn’t harden off before winter and becomes vulnerable to cold damage. When in doubt, apply less than the label suggests and monitor leaf color before adding more.
Pruning Blueberry Bushes by Year
Skip pruning entirely for the first two years after planting, aside from removing broken or dead wood, and start real structural pruning starting in year three. Blueberry bushes need time to establish a strong root system and canopy before they can support both new growth and fruit production simultaneously.
| Years | What to do | Why |
| 1–2 | Remove only broken or dead wood; pinch off flower buds as they appear | Redirects energy into root and shoot development instead of berry production, for a stronger, higher-yielding bush by year 3–4 |
| 3+ | Prune annually in late winter/early spring, after the coldest weather has passed | Removes dead, damaged, or diseased wood first, then old stems, to keep the bush productive |
Starting in year three, cut out stems more than six years old or over an inch in diameter at the base, since these older stems produce fewer and smaller berries each year. A mature, well-pruned bush should have roughly one-third old stems, one-third middle-aged stems, and one-third young shoots at any given time.
Fruit forms on one-year-old wood, so aggressive pruning that removes too much of last season’s growth directly cuts next year’s harvest. Keep four to six of the healthiest older stems per mature bush, along with one or two vigorous new shoots to eventually replace them.
Growing Blueberries in Containers
Grow blueberries in containers at least 18 inches deep and wide for young plants, moving up to half-barrel size as the bush matures. Compact cultivars suit pots better than full-size highbush types. ‘Top Hat,’ ‘Northsky,’ and ‘Sunshine Blue’ were bred specifically for container culture and rarely exceed 3 feet in height.
Fill containers with a peat-free ericaceous potting mix (a soil blend formulated for acid-loving plants) rather than standard potting soil, which usually runs closer to neutral pH. A mix of one part sphagnum peat moss to one part shredded pine bark creates a suitable acidic growing medium if a pre-made ericaceous mix isn’t available locally.
Container plants need more frequent watering than in-ground bushes, since potting mix holds far less moisture reserve and dries out faster in direct sun. Feed container-grown blueberries every two to three weeks during the active growing season, from April through August, with a liquid fertilizer formulated for ericaceous plants.
Winter protection matters more for containers than for ground-planted bushes. Roots in an above-ground pot freeze faster than roots insulated by surrounding earth. Move containers against a sheltered wall, group several pots together, or wrap them in burlap during hard freezes to prevent root damage.
Common Blueberry Pests and How to Manage Them
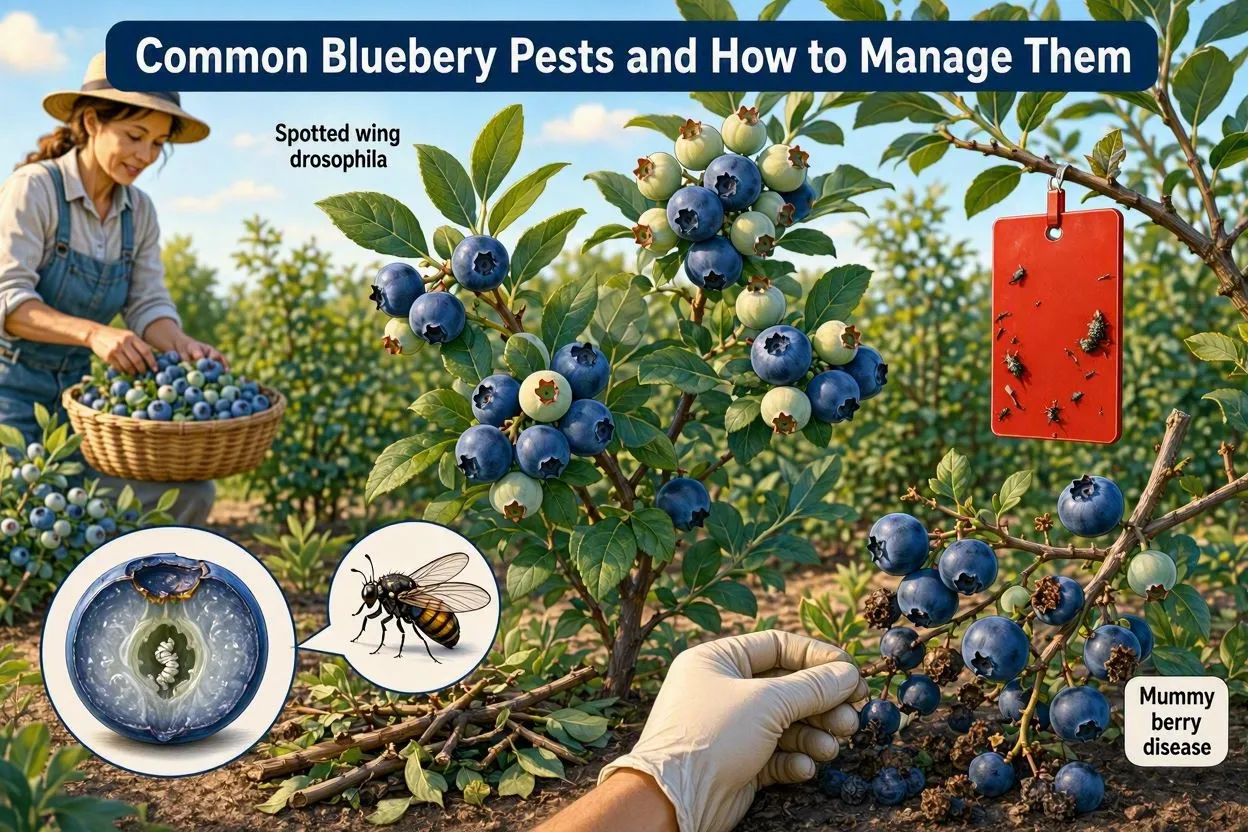
Spotted wing drosophila (SWD) is the most damaging blueberry pest in the US, laying eggs inside fruit before it’s fully ripe rather than after. Early-ripening varieties help sidestep peak activity, since SWD typically doesn’t strike until early August; red sticky traps hung in midsummer catch early signs, and prompt harvesting limits the window for egg-laying.
Mummy berry disease shrivels and drops fruit before ripening; remove infected berries rather than composting them, since spores survive and reinfect the planting next spring. A 1- to 2-inch mulch layer applied in fall blocks the fungus’s life cycle. Blueberry maggot responds well to homemade traps: a red, apple-sized sphere coated in Tangle-Trap catches flies before they lay eggs. Birds cause the most visible losses of all, often stripping an unprotected bush within days, so netting draped over a frame (not laid directly on the branches) offers the strongest protection.
Why Isn’t My Blueberry Bush Fruiting? (Troubleshooting)
A blueberry bush without fruit usually isn’t sick; it’s just young. Plants under three years rarely produce a real harvest, and full yield doesn’t show up until year eight to ten. If your bush is past that age, check soil pH first: anything above 5.5 blocks nutrient uptake, and yellowing between the leaf veins (chlorosis) is usually the first sign.
If the soil checks out, look at three other culprits: no second variety nearby for cross-pollination (especially with rabbiteye types), too much shade (aim for at least six hours of direct sun), or over-pruning that removed the one-year-old wood next year’s berries would have grown on.
Harvesting and Storing Blueberries
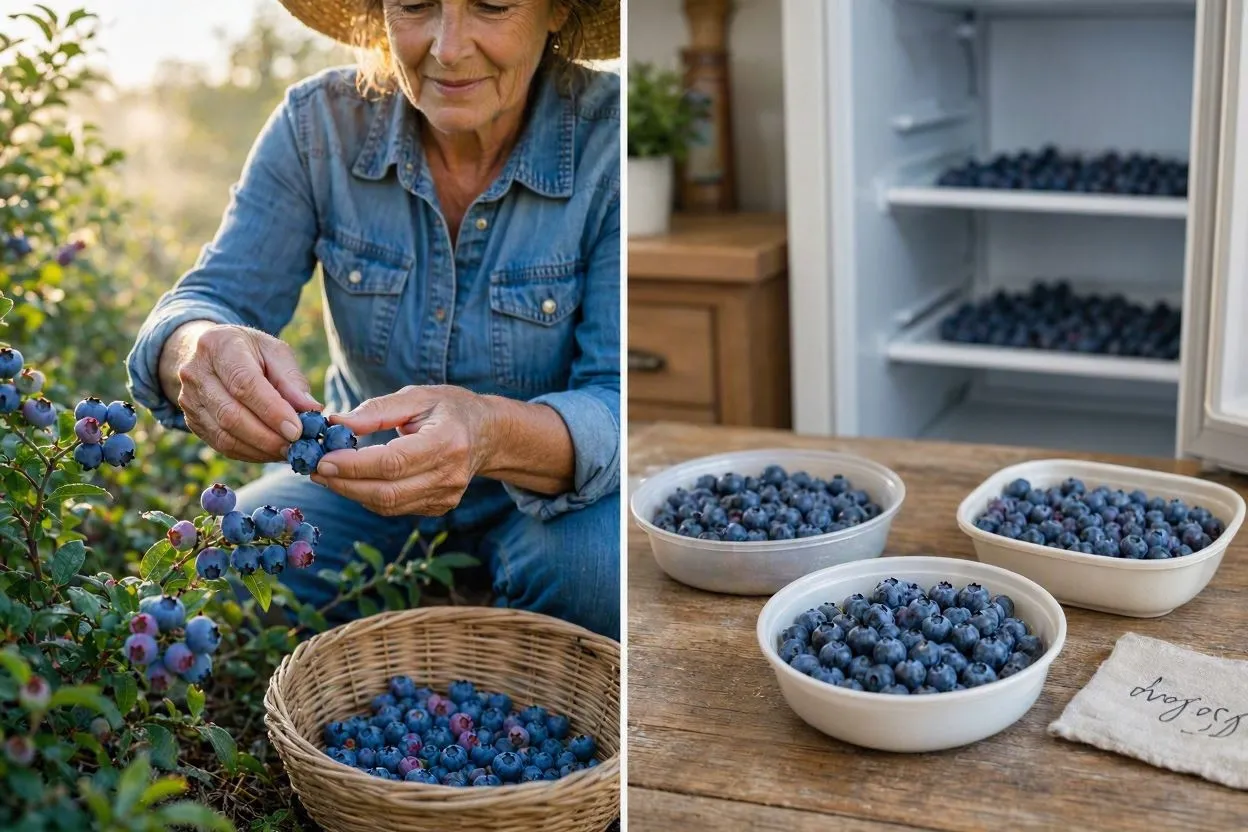
Wait a few days after berries turn fully blue before picking; they keep sweetening on the bush. To check, roll a cluster gently between your fingers: ripe berries detach easily, unripe ones stay put. Pick in the cool morning and use shallow containers so berries near the bottom don’t get crushed.
Refrigerate unwashed berries right away (washing first speeds up mold), and they’ll keep one to two weeks, longer than raspberries or blackberries. For longer storage, freeze them: wash, dry, freeze in a single layer on a baking sheet until firm, then bag them up. That keeps the berries loose instead of frozen into a clump.
FAQs
How long does it take for a blueberry bush to produce fruit?
Two to three years for a meaningful harvest, though a few berries may appear in year two. Full mature yield doesn’t arrive until the bush reaches eight to ten years old.
Can blueberries grow in regular garden soil?
No, standard garden soil sits too close to neutral pH. Blueberries need soil acidified to between 4.0 and 5.5, usually through sulfur or peat moss amendments.
Do I need two blueberry bushes to get fruit?
Not always, but planting two varieties significantly increases yield and berry size. Rabbiteye types generally require a second cultivar for pollination to occur.
What’s the best mulch for blueberry bushes?
Pine bark, pine needles, or sawdust work best. All three hold moisture, suppress weeds, and lower soil pH slightly as they decompose over the season.
Why are my blueberry leaves turning yellow?
Yellowing between leaf veins usually signals soil pH above 5.5, blocking iron uptake. Test soil pH and add sulfur if it’s reading above the ideal range.
Conclusion
Growing blueberries successfully comes down to soil chemistry more than any other single factor. Get the pH between 4.0 and 5.5 before planting, and most of the remaining care is routine maintenance rather than troubleshooting. A half-high variety like ‘Northblue’ in Minnesota, a rabbiteye like ‘Climax’ in Arkansas, or a southern highbush like ‘Ozark Blue’ in the Carolinas all follow the same core pattern: acidic soil, full sun, consistent moisture, annual mulch, and patience through the first two to three unproductive years. After that wait, a well-sited bush keeps producing fruit for twenty years or more, often outliving the gardener who planted it.