Most rice guides written for the US assume you’re starting a commercial operation, not testing a raised bed in your backyard garden. This one skips the industrial framing and focuses on what actually changes when you go from a grocery-store curiosity to a working home garden paddy: which varieties survive a Midwest frost date, how much water a 4-by-4-foot garden bed really needs, and why a bucket of seed from the pantry won’t sprout no matter how well you flood it.
What You’ll Need
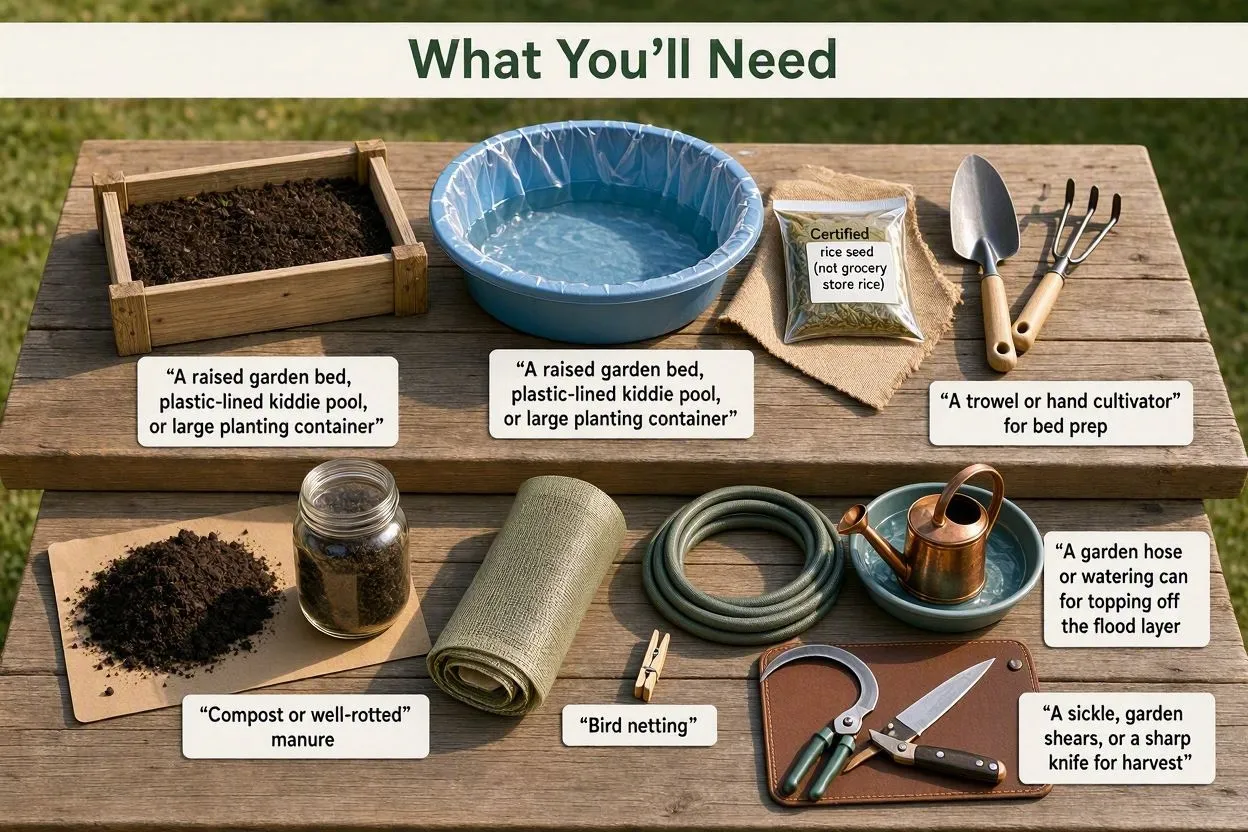
- A raised garden bed, plastic-lined kiddie pool, or large planting container
- Certified rice seed (not grocery store rice)
- A trowel or hand cultivator for bed prep
- Compost or well-rotted manure
- A garden hose or watering can for topping off the flood layer
- Bird netting
- A sickle, garden shears, or a sharp knife for harvest
What Is Paddy, and How Is It Different From Rice?
Paddy refers to the flooded field where rice plants grow, not the grain itself. Rice is the harvested seed of Oryza sativa; paddy is the waterlogged growing environment that gives lowland rice varieties the conditions they need. A backyard paddy can be as small as a 4-by-4-foot raised bed lined with plastic sheeting, or as simple as a repurposed kiddie pool filled with 6 inches (15 cm) of soil and 2 inches (5 cm) of standing water. The distinction matters once you start planning irrigation, since paddy cultivation and dry-field rice growing use nearly opposite watering strategies.
Can You Grow Paddy Rice in the United States?
Yes, if your region gets at least 70 days of consistent daytime temperatures above 70°F (21°C). Arkansas, California, Louisiana, Texas, and parts of Florida already produce rice commercially, so the climate clearly works at scale. Home growers in cooler states, including Ohio, Vermont, and parts of Wisconsin, have also raised small paddy or upland plots by choosing cold-tolerant varieties and starting seedlings indoors. Rooftop and small-lot trials in northern cities have shown that certain cold-hardy Russian and Eastern European short-grain lines can mature before the first fall frost, which is worth knowing if you’re gardening well outside rice’s usual range.
Which Rice Varieties Work Best for Home Paddy Growing?
Duborskian suits cooler climates, while Koshihikari and Carolina Gold suit warmer, longer-season regions. Pick a variety that matches your frost-free window before buying seed. A mismatch between variety and growing season is the single most common reason home paddy crops fail to produce grain.
- Duborskian – upland, cold-tolerant, about 100 days to maturity
- Koshihikari – lowland, warm-climate, sushi-grade, needs a full flood and a longer season
- Carolina Gold – lowland, Southeast heritage variety, handles humidity and clay soils
- M-101 – early-maturing California short-grain
- Wild rice (Zizania palustris) – cold climate, requires standing water year-round
What Climate and Soil Conditions Does Paddy Rice Need?
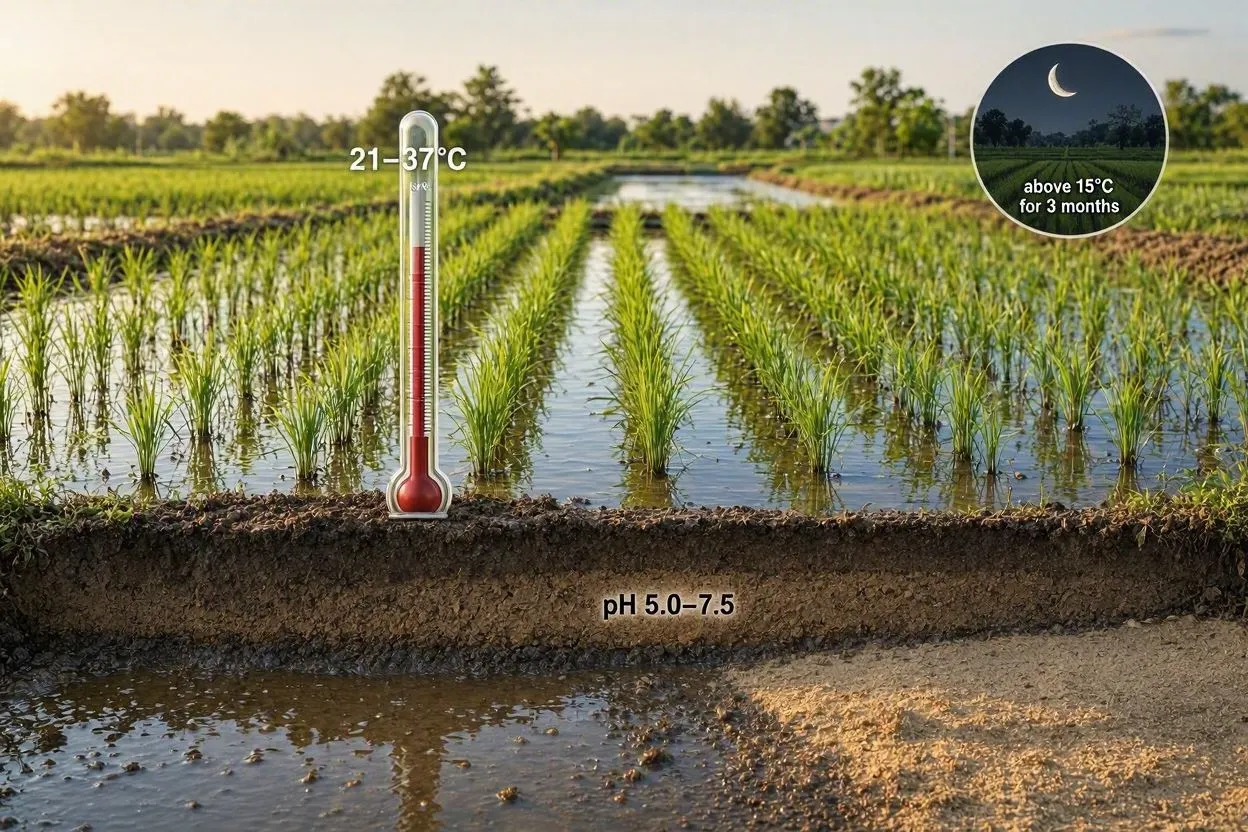
Paddy rice needs daytime temperatures between 70°F and 99°F (21°C to 37°C) and clay or silt-loam soil that holds water without draining quickly. Nighttime lows should stay above 60°F (15°C) for at least three consecutive months, since germination slows sharply below that threshold. Soil pH between 5.0 and 7.5 works for nearly all varieties, and clay-heavy plots generally outperform sandy ones, which drain too fast to hold the flood layer. Annual rainfall above 45 inches (115 cm) supports rice without heavy supplemental irrigation; regions below that figure need a reliable water source on hand before planting.
Preparing Your Garden Bed for Paddy Rice
Preparing a paddy bed means leveling the ground, building a raised border to hold water, and clearing weeds and debris before flooding begins.
- Remove rocks, roots, and old plant material from the plot.
- Loosen the soil 6 to 8 inches (15 to 20 cm) deep with a garden fork or tiller to break up compaction.
- Build a low raised border (sometimes called a bund) around the perimeter to hold water in place, the same idea as edging a raised vegetable bed, just built up higher and packed tight enough to hold water. A lined raised bed or plastic-lined kiddie pool works as a substitute if space is limited.
- Work 2 to 3 inches (5 to 8 cm) of compost or well-rotted manure into the top layer of soil before flooding. Nutrients mixed in early are much harder to correct once the bed sits underwater.
When Should You Plant Paddy Rice in the US?
Plant between March and May, once soil temperatures hold steady above 65°F (18°C) and the last frost date has passed. Southern states such as Louisiana and Texas typically start in April, giving the crop a full 150-day window before fall temperatures drop. Growers in cooler zones (the mid-Atlantic or lower Midwest, for example) often start seed indoors in March and transplant outdoors in late May, once nighttime lows stabilize above 60°F (15°C).
The safest approach is to work backward: count 100 to 150 days from your region’s average first fall frost date, and treat that earlier date as your latest safe planting window. Miss it by even two weeks and harvest can slide into cold, wet fall weather that rots grain still standing in the field.
How to Grow Paddy: Step-by-Step Process
Step 1: Choose Direct Seeding or Transplanting
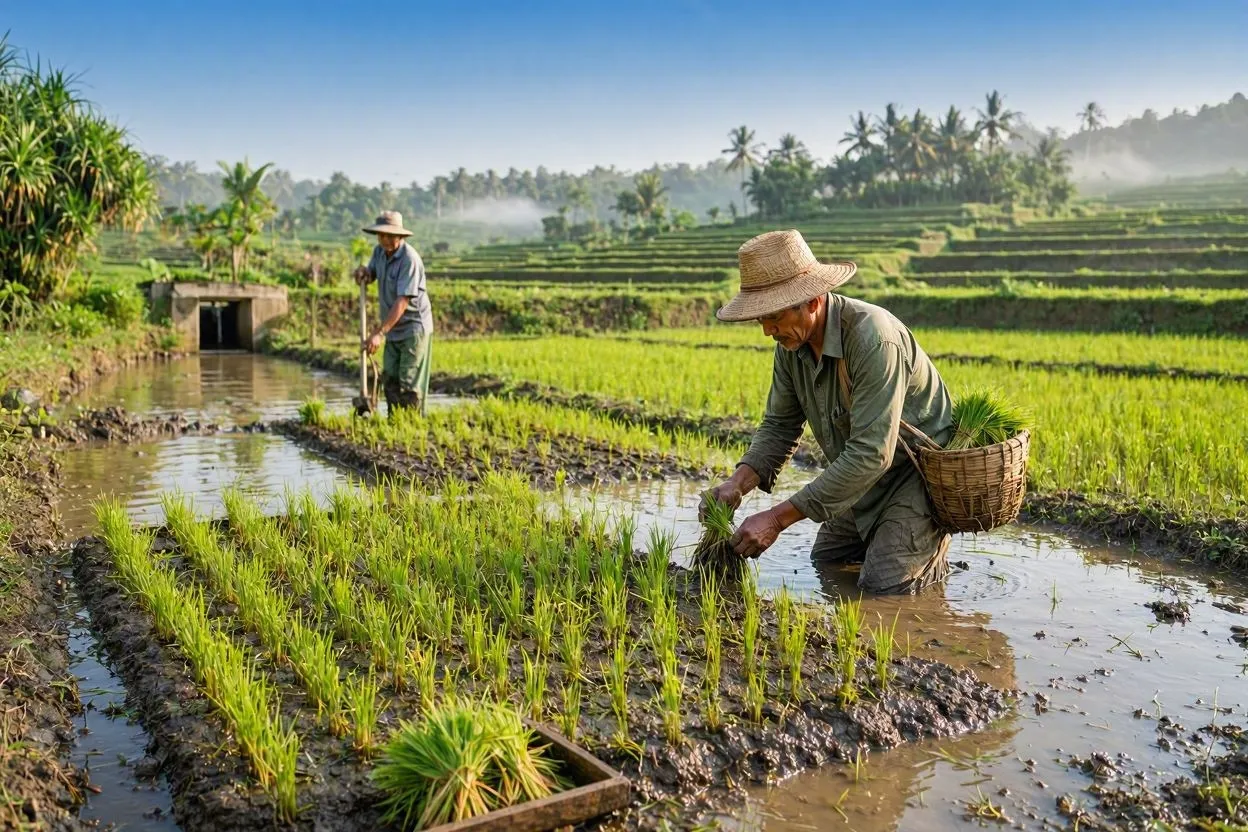
Direct seeding means sowing rice seed straight into your flooded garden bed. Transplanting means growing seedlings in trays or small pots for 20 to 30 days first, the same way you’d start tomatoes or peppers indoors. Direct seeding saves labor and suits small home plots well, since there’s no delicate seedling handling later. Transplanting produces stronger, more uniform stands and gives young plants a head start against weeds, which matters most where the growing season is short. Home gardeners with fewer than 50 square feet (4.6 square meters) of paddy space usually get better results from transplanting.
Step 2: Start Your Seedlings
Soak rice seed in non-chlorinated water for 12 to 36 hours to trigger germination, similar to pre-soaking pea or bean seed before sowing. Spread the soaked seed in trays of moist potting mix, keep them somewhere warm above 70°F (21°C), and expect visible sprouts within 5 to 7 days. Once seedlings reach 4 to 6 inches (10 to 15 cm) tall, typically after 20 to 30 days, they’re ready to move into the flooded bed. Space transplants 6 inches (15 cm) apart to leave room for tillering, where a single rice plant branches out into multiple stalks, much like a clump of ornamental grass filling in.
Step 3: Flood and Manage Water Levels
Flood the bed to a depth of 1 to 2 inches (25 to 50 mm) right after transplanting, then increase the water level to 4 to 6 inches (10 to 15 cm) as plants mature. Standing water suppresses weed germination and keeps soil temperature stable during the vulnerable early weeks. Letting the bed dry out slightly between floods, a technique known as alternate wetting and drying, cuts your water bill without hurting yields, and it’s a popular option for home gardeners on a water budget. Drain the bed completely 10 to 14 days before harvest so the soil firms up enough to walk on and cut the plants.
Step 4: Fertilize and Manage Nutrients
Rice needs nitrogen, phosphorus, and potassium in balanced amounts, with the heaviest nitrogen demand while the plant is putting out new stalks. Work compost or aged manure into the soil before flooding, then side-dress with a balanced organic fertilizer every three to four weeks through the season, the same routine you’d use for a heavy-feeding vegetable like corn. Diluted fish emulsion or seaweed extract, applied monthly and timed to new growth, works well for gardeners who prefer not to use synthetic inputs.
Step 5: Control Weeds, Pests, and Disease
Standing water controls most weeds naturally, but hand-pulling anything that surfaces is still the most reliable backup for a small paddy bed. Birds are the biggest pest threat to home growers, since flooded beds draw them in during the vulnerable seedling stage. Netting stretched over the bed, the same kind you’d use to protect berries, solves this in most yards, and it’s worth installing before the seed heads fill in rather than after birds have already found the plot. Fungal issues such as rice blast and leaf blight show up more often in humid climates, so spacing plants 12 inches (30 cm) apart improves airflow and cuts disease risk, the same spacing logic you’d apply to keep powdery mildew off summer squash.
Step 6: Harvest at the Right Time
Harvest when 80 to 85 percent of the grains on each seed head have turned golden yellow, typically 100 to 150 days after planting depending on variety. Grip a handful of stalks and cut them 1 to 2 inches (4 to 5 cm) above the soil line with a sickle, garden shears, or a sharp knife, leaving enough stubble behind to keep overwintering pests from settling in for next season. Cutting too early leaves grains underdeveloped; waiting too long risks shattering, where ripe grains drop off before you can collect them.
Step 7: Dry, Thresh, and Mill the Grain
Dry the harvested stalks in a well-ventilated spot for one to two weeks before threshing. Bundle them and hang upside down, then once fully dry, remove the grains by hand or with a small thresher. Pound the grains gently with a wooden mallet to loosen the outer hull, then winnow by tossing them in a shallow basket so the lighter husks blow away in a breeze. What remains after hulling is brown rice; removing the bran layer through further polishing produces the white rice you’d find at a grocery store.
How Much Rice Will a Home Paddy Produce?
A well-managed 100-square-foot (9-square-meter) garden plot typically yields 8 to 12 pounds (3.6 to 5.4 kg) of unhulled rice. Yield depends heavily on variety, water consistency, and planting density; tightly packed rows raise total stalk count but can shrink grain size per seed head. Treat these numbers as a starting benchmark rather than a ceiling. With well-amended soil and a couple of seasons of practice, an attentive home gardener can beat the average by a meaningful margin.
How Long Does It Take to Grow Paddy Rice?
Most varieties take 100 to 150 days from planting to harvest, though some long-season types need up to 180 days. Early-maturing varieties like Duborskian finish around day 100, medium varieties fall between 113 and 125 days, and late-maturing lowland Asian cultivars can stretch to 130 to 180 days. Weather matters too: a cooler-than-average summer can push harvest back a week or two even for a fast-maturing variety.
Fitting a Paddy Bed Into Your Garden Layout
A paddy bed doesn’t need its own dedicated plot carved out of the yard. It works well tucked into a sunny corner of an existing vegetable garden, along a fence line, or on a patio as a container feature, as long as it gets 6 or more hours of direct sun. Keep it away from established trees and shrubs, since the standing water and nearby root systems don’t mix well, and most trees will out-compete a paddy bed for nutrients anyway. If you’re already growing water-loving plants like taro, watercress, or pond marginals, a paddy bed pairs naturally in the same wet corner of the yard, since they all want the same soggy, sunny conditions. Raised paddy beds also double nicely as a rain garden feature in the off-season, since the same lined bed that holds a summer flood can be drained and replanted with fall greens once rice is harvested.
Can You Grow Paddy Rice in a Container or Backyard Pond?
Yes. A 5-gallon (19-liter) bucket or plastic tub without drainage holes works for a single test plant. Fill it with 6 inches (15 cm) of nutrient-rich potting soil, add 2 inches (5 cm) of standing water on top, and plant several seeds to account for uneven germination. A kiddie pool scales this up for a family project rather than a food source. Ten plants produce roughly 1 pound (450 g) of unhulled rice under good conditions, so treat container growing as educational rather than a meaningful food supply.
What Mistakes Ruin a Home Paddy Crop?
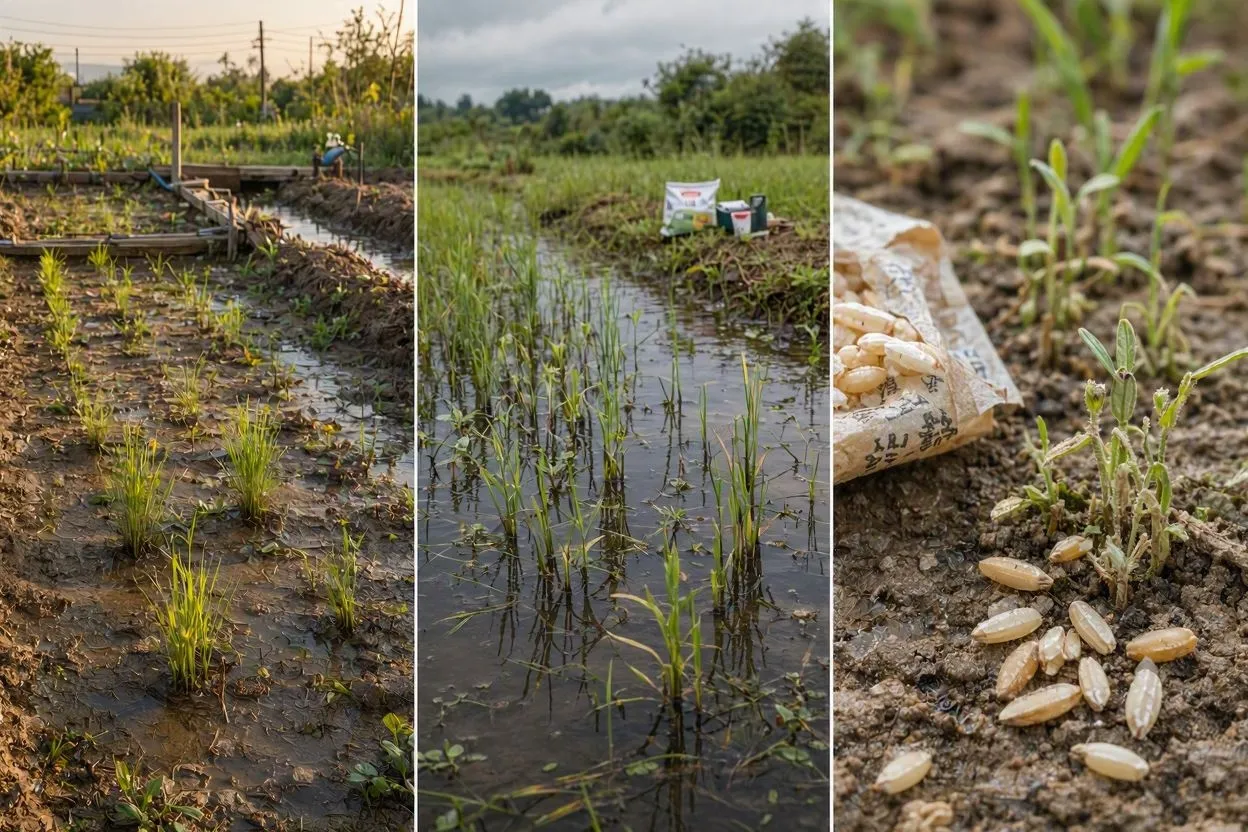
The most common mistake is planting a lowland variety without a reliable way to maintain standing water through the full season. Skipping the pre-flood fertilizer application ranks second, since correcting nutrient deficiencies after flooding is much harder than amending dry soil. Planting rice straight from a grocery store bag instead of seed sold for planting usually fails outright, since processed grocery rice has been treated in ways that block germination, the same reason you can’t plant a supermarket onion and expect it to sprout.
Also avoid:
- Using sandy soil without amending it for water retention
- Letting the paddy dry out completely during tillering
- Harvesting before 80 percent of the grains have turned golden
- Storing threshed rice with excess moisture, which invites mold
- Ignoring bird activity once seed heads start to form
FAQs
Is paddy the same thing as rice?
No. Paddy is the flooded field; rice is the grain it produces.
How much space does a home paddy plot need?
A 4-by-4-foot (1.2-by-1.2-meter) bed supports a small trial. Plots of 100 square feet (9 square meters) or more give a more meaningful harvest.
Can rice grow without flooding?
Yes. Upland varieties like Duborskian grow in regular garden soil with consistent moisture, skipping the flooded paddy method while still producing grain.
What USDA zones support paddy rice?
Zones 8 through 12 offer the most reliable results. Zones 6 and 7 can succeed with cold-tolerant varieties and an early indoor start.
Why did my rice seeds fail to sprout?
Grocery store rice is processed and won’t germinate. Certified planting seed, soaked 12 to 36 hours in non-chlorinated water, sprouts reliably within a week.
Conclusion
Growing paddy in a home garden comes down to matching variety to climate, keeping water levels consistent through tillering, and timing the harvest before grains shatter. Prepare the bed, flood it correctly, feed the plants on schedule, and cut the stalks when 80 to 85 percent of the grain has turned gold. Start with a small test plot before committing a full yard to it, the same way you’d trial any new crop in your garden. The first season will teach you more about your specific backyard microclimate than any guide can predict in advance.