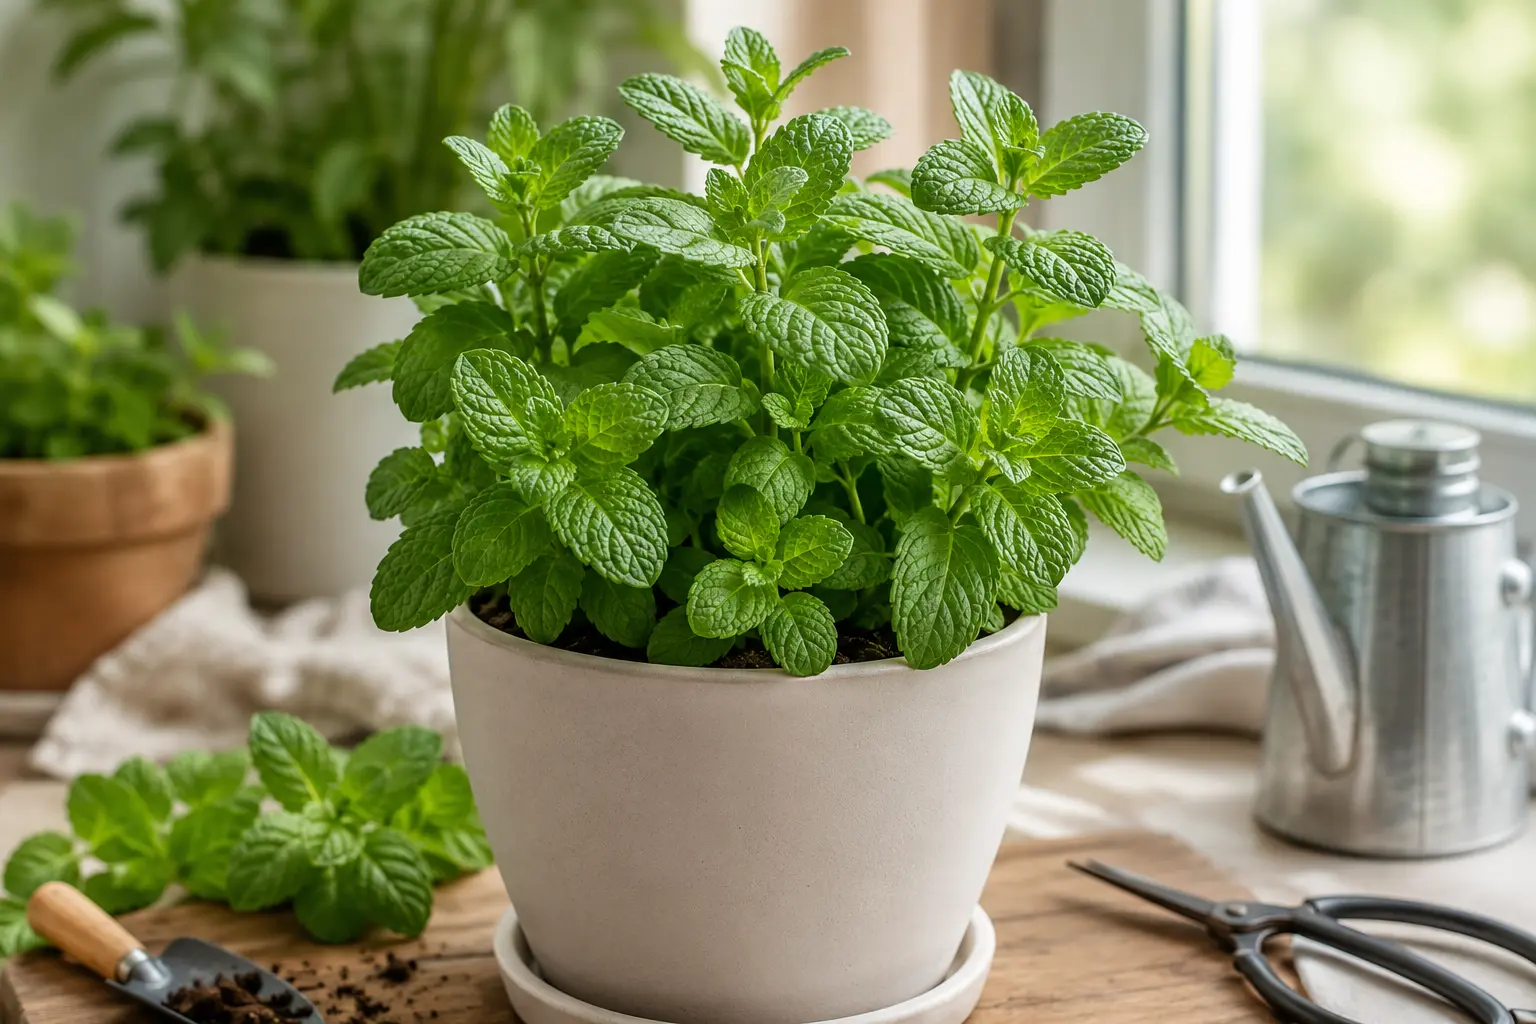
Mint grows indoors successfully with 6 to 8 hours of bright light daily, evenly moist soil, and a pot at least 8 inches (20 cm) wide with drainage holes. Peppermint, spearmint, and chocolate mint all adapt well to windowsills and grow lights, and they’ll produce harvestable leaves within 3 to 4 weeks of planting a rooted cutting. It’s more forgiving than most garden plants. That’s part of why it’s such a common starting point for anyone new to container gardening. Many gardeners also move a potted mint plant out to a patio or balcony for the warm months, then bring it back indoors before the first frost, so the same pot can pull double duty across a whole year.
This guide covers every stage of mint care, whether it’s sitting on a windowsill or out on a patio: light and temperature, three growing methods (soil, water, and hydroponics), containers and soil, fertilizing, pruning, repotting, and the specific problems behind yellowing, leggy stems, or weak growth.
What Mint Needs to Grow Indoors
Four things determine whether indoor mint thrives or struggles: light, temperature, humidity, and soil quality. They interact with each other, too. A plant sitting in a cold draft needs less water than one in a warm, bright spot, so treating these as separate checkboxes tends to backfire.
Light
Indoor mint needs 6 to 8 hours of bright, indirect light daily, or 12 to 16 hours under a full-spectrum grow light. A south- or east-facing window works best in the Northern Hemisphere. Morning sun brings brightness without the harsher heat of afternoon western exposure. Place the pot 12 to 24 inches (30 to 60 cm) below a grow light for even coverage without leaf scorch.
Too little light shows up in two ways: pale leaves and long gaps between leaf nodes, a condition called legginess. If your window isn’t bright enough, add a small clip-on or desktop grow light instead of settling for slow, weak growth. On the flip side, an unshaded south-facing window in the middle of summer isn’t the win it looks like. Unfiltered afternoon sun through glass can scorch leaf edges just as easily.
Temperature
Mint grows best between 65°F and 75°F (18°C to 24°C) during the day, with nights staying above 55°F (13°C). Cold drafts near single-pane windows or doors slow growth and can cause leaf drop in winter. Keep pots at least 6 inches (15 cm) from window glass during cold months, and move plants away from heating vents, which dry out both soil and leaves.
Mint handles temperature swings better than a lot of houseplants. Still, steady conditions produce fuller growth and stronger flavor than a plant cycling between cold nights and hot, dry days.
Humidity
Mint prefers moderate humidity, roughly 40% to 60%, and most homes hit that naturally outside of winter heating season. Dry indoor air causes brown, crispy leaf tips even when watering is otherwise consistent. Raise humidity around the plant with a pebble tray filled with water, by misting the leaves twice a week, or by running a small humidifier nearby. Try not to crowd mint into low-airflow corners with other plants. Stagnant, humid air is exactly what fungal problems like.
Soil and Containers
Mint needs well-draining, nutrient-rich potting mix, not garden soil, which compacts indoors and holds too much water around the roots. A standard all-purpose potting mix amended with 20% perlite improves drainage while still holding enough moisture between waterings. Every container needs at least one drainage hole. Without one, water pools at the roots no matter how carefully you manage the schedule.
Choosing a Mint Variety for Indoor Growing
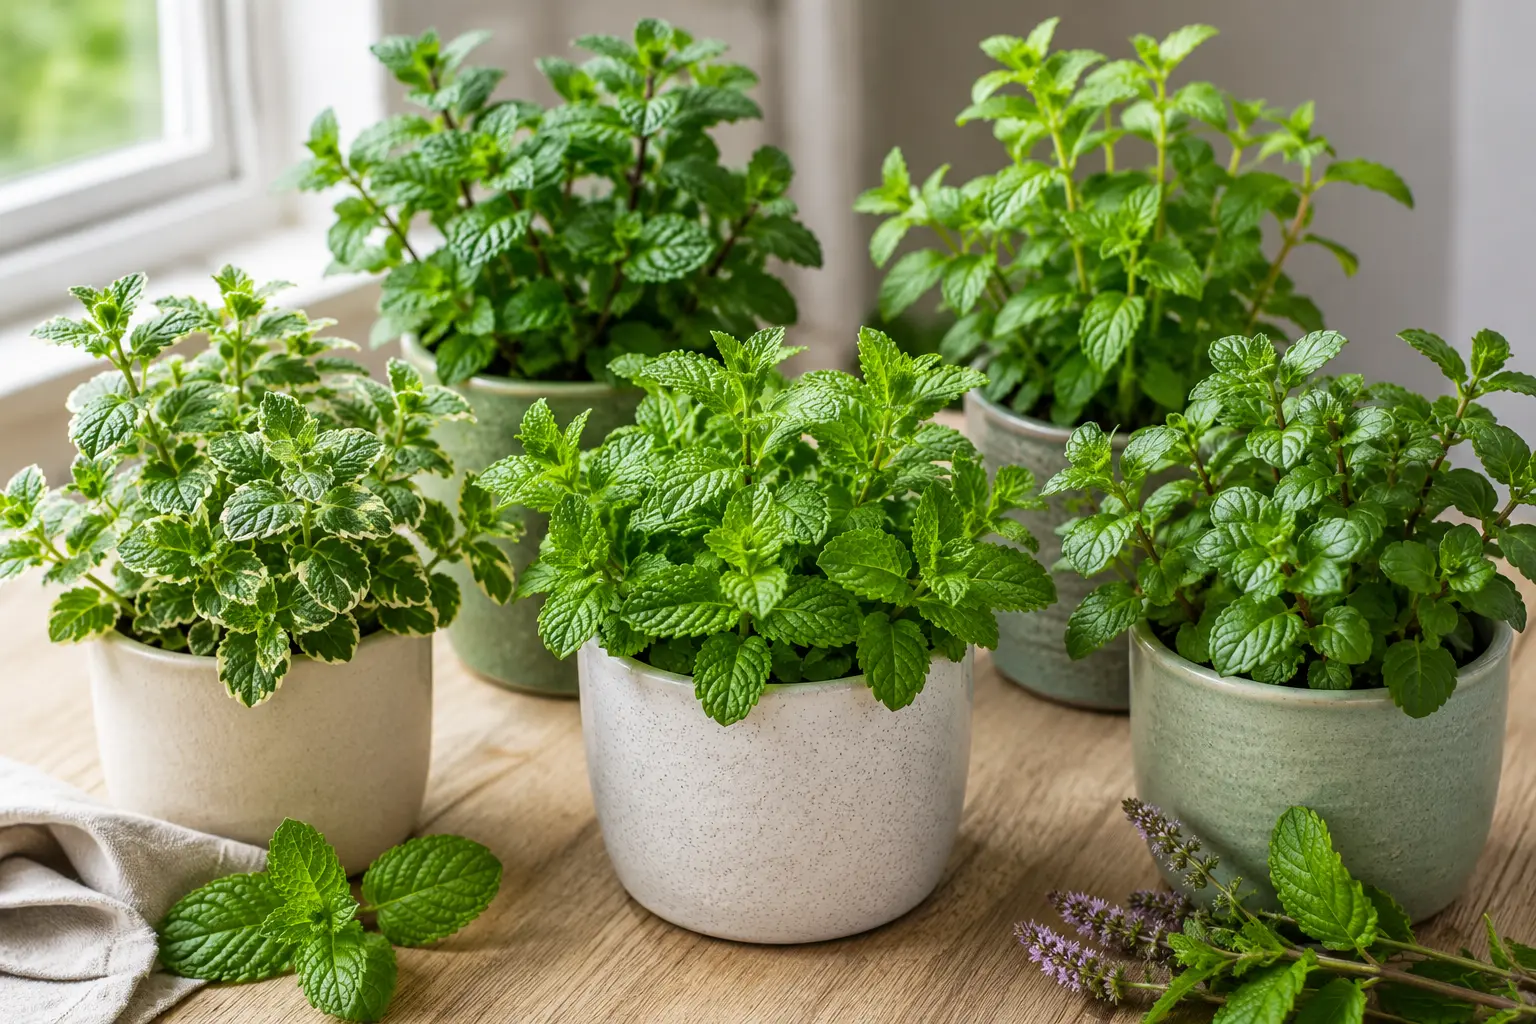
Any species in the genus Mentha grows indoors, but growth habit, leaf texture, and vigor vary widely across roughly 25 recognized species and hundreds of hybrids and cultivars. Here are six of the most common ones gardeners choose for containers.
- Spearmint (Mentha spicata): upright growth habit, smooth mid-green leaves. Probably the easiest variety for a first-time grower.
- Peppermint (Mentha × piperita): a vigorous grower with darker, slightly serrated leaves and a purple-tinged stem.
- Chocolate mint (Mentha × piperita ‘Chocolate Mint’): compact habit, dark green and glossy foliage.
- Apple mint (Mentha suaveolens): fuzzy, rounded leaves and a softer, spreading habit.
- Pineapple mint (Mentha suaveolens ‘Variegated’): cream-and-green variegated leaves, grown mainly as an ornamental.
- Orange mint (Mentha × piperita citrata): narrow, pointed leaves with a slightly reddish stem.
One species needs a direct warning: pennyroyal (Mentha pulegium) contains compounds that are harmful if ingested and has no place in a household garden where leaves might get handled or tasted. Buy from a labeled, reputable nursery rather than an unmarked cutting, and confirm the species before adding any mint to your growing space.
It’s worth confirming any variety at the point of purchase rather than trusting a generic “mint” label. Nurseries sometimes mislabel plants, or mix cuttings from more than one species in the same tray. Leaf shape and growth habit are the most reliable way to tell varieties apart once they’re established in a pot.
Three Ways to Start Mint Indoors
Growers can start mint from a stem cutting, a root division, or seed, then grow the plant in soil, water, or a hydroponic system. Which method makes sense depends on your time, your existing plants, and how fast you want a harvest.
Method 1: Soil
Soil growing is still the most reliable method for long-term indoor mint. Fill an 8-inch (20 cm) or larger pot with well-draining potting mix. Leave a half-inch (1.3 cm) gap between the soil surface and the rim so water doesn’t spill over when you water. Plant a rooted cutting or a small division 1 to 2 inches (2.5 to 5 cm) deep, then water thoroughly until liquid drains from the bottom.
Soil-grown mint tolerates inconsistent watering far better than water- or hydroponic-grown mint. That makes it the better choice if you travel a lot or tend to forget a watering here and there.
Method 2: Water (Hydroculture)
Hydroculture skips the soil mess and produces roots within 1 to 2 weeks. Cut a 3- to 6-inch (7.5 to 15 cm) stem below a leaf node, strip the lower leaves, and set the stem in a glass or jar of water. Change the water every 5 to 7 days to keep bacteria and algae from building up. If your tap water contains chlorine, let it sit out for 24 hours first. The chlorine dissipates, and that cuts down on leaf-tip burn.
Mint grown purely in water tends to yellow and slow down after several months, since water alone can’t supply everything soil provides. Once roots reach 1 to 2 inches (2.5 to 5 cm) long, transplant into potting mix for stronger growth over the long haul.
Method 3: Hydroponic Systems
A hydroponic setup produces the fastest, highest-volume growth of the three, because roots get direct access to nutrient-rich water without competing with soil for oxygen. Set up a reservoir, net pots or a growing tray, and a balanced liquid nutrient solution formulated for leafy greens with an NPK ratio near 10-10-10. Replace the full nutrient solution every 1 to 2 weeks to prevent algae and bacterial buildup, and keep the water level steady between changes.
Hydroponic systems cost more upfront than soil or hydroculture, and they demand closer attention to nutrient concentration. But if you want the most yield from the smallest footprint, this is the method.
Potting Mint the Right Way
Choose a container at least 8 inches (20 cm) in diameter and depth. Mint’s spreading root system fills a small pot within a few months, so don’t undersize it. That goes for outdoor patio containers just as much as indoor ones. Plastic and glazed ceramic pots hold moisture longer than terracotta, which dries out faster and needs more frequent watering. A self-watering pot with a built-in reservoir suits anyone who wants consistent soil moisture without checking daily, since the wicking system pulls water up as the soil dries.
Every pot needs drainage holes, full stop, regardless of material or whether it lives on a windowsill or a patio table. A decorative outer pot without drainage can still work as a cover, as long as the plant actually sits in an inner nursery pot that drains into a saucer.
Gardeners who keep mint contained on a patio or deck often skip in-ground planting entirely. Mint’s rhizomes spread aggressively and can take over an open garden bed within a season, so a pot keeps the plant’s footprint under control no matter where it sits.
Watering Indoor Mint Without Killing It
Water indoor mint when the top 1 to 2 inches (2.5 to 5 cm) of soil feels dry, typically every 3 to 5 days depending on pot size, humidity, and light. Check by pressing a finger into the soil rather than watering on a fixed schedule. Conditions shift with the seasons, and the calendar doesn’t know that.
Water thoroughly until liquid drains from the bottom, then empty any standing water from the saucer within 30 minutes to head off root rot. Mint handles a brief dry spell far better than soggy soil for days on end, so if you’re unsure whether to water, wait.
Chlorinated tap water rarely does real damage, but letting a filled watering can sit uncovered for 24 hours lets most of the chlorine evaporate and lowers the risk of tip burn on sensitive plants. Distilled or filtered water doesn’t offer much advantage over rested tap water for most households, so don’t feel like you need to buy it.
Fertilizing Indoor Mint
Feed indoor mint every 3 to 4 weeks from early spring through late summer, using a liquid organic fertiliser diluted to half the label-recommended strength. Cut back to once every 6 weeks from early fall through late winter, since mint growth naturally slows with shorter daylight even indoors. Hydroponic setups need their own balanced nutrient solution rather than standard liquid fertiliser, because those nutrients are formulated to dissolve fully in water without soil to buffer the concentration.
Overfeeding has a telltale result: fast, leggy leaf growth paired with weaker stems overall. Excess nitrogen pushes soft, rapid top growth at the expense of a fuller, bushier plant. Light, steady feeding beats heavy, occasional fertilising almost every time.
Pruning and Harvesting for Continuous Growth
Pinch or snip the top 1 to 2 inches (2.5 to 5 cm) of each stem every 1 to 2 weeks to encourage branching and keep the plant from getting tall and sparse. Cut just above a leaf node. Two new stems usually grow from that point, doubling the plant’s density over a few growth cycles.
Harvest individual leaves as needed, or cut whole stems for propagating new pots. Try not to take more than a third of the plant’s total growth at any one harvest. The roots need the rest to recover. Morning cuttings tend to hold up best, since the plant is fully hydrated before the day’s heat sets in.
Cut the entire plant back to 2 inches (5 cm) above the soil once or twice a year, usually in mid-spring. It looks drastic, but it rejuvenates growth and produces a flush of new, more flavorful leaves within 2 to 3 weeks.
Signs Your Mint Needs Repotting
Repot indoor mint every 1 to 2 years, or sooner if you notice roots circling visibly at the drainage hole, water running straight through without soaking in, or growth stalling despite good light and feeding. Mint’s rhizomes (underground spreading stems) fill available space fast, and a root-bound plant can’t take up water or nutrients well even with otherwise perfect care.
Move a root-bound plant into a container 2 inches (5 cm) larger in diameter, with fresh potting mix packed around the existing root ball. Or divide the root ball into two or three sections with a clean knife and repot each one separately. That’s an easy way to turn one overgrown plant into several new ones.
Companion Herbs for an Indoor Mint Setup
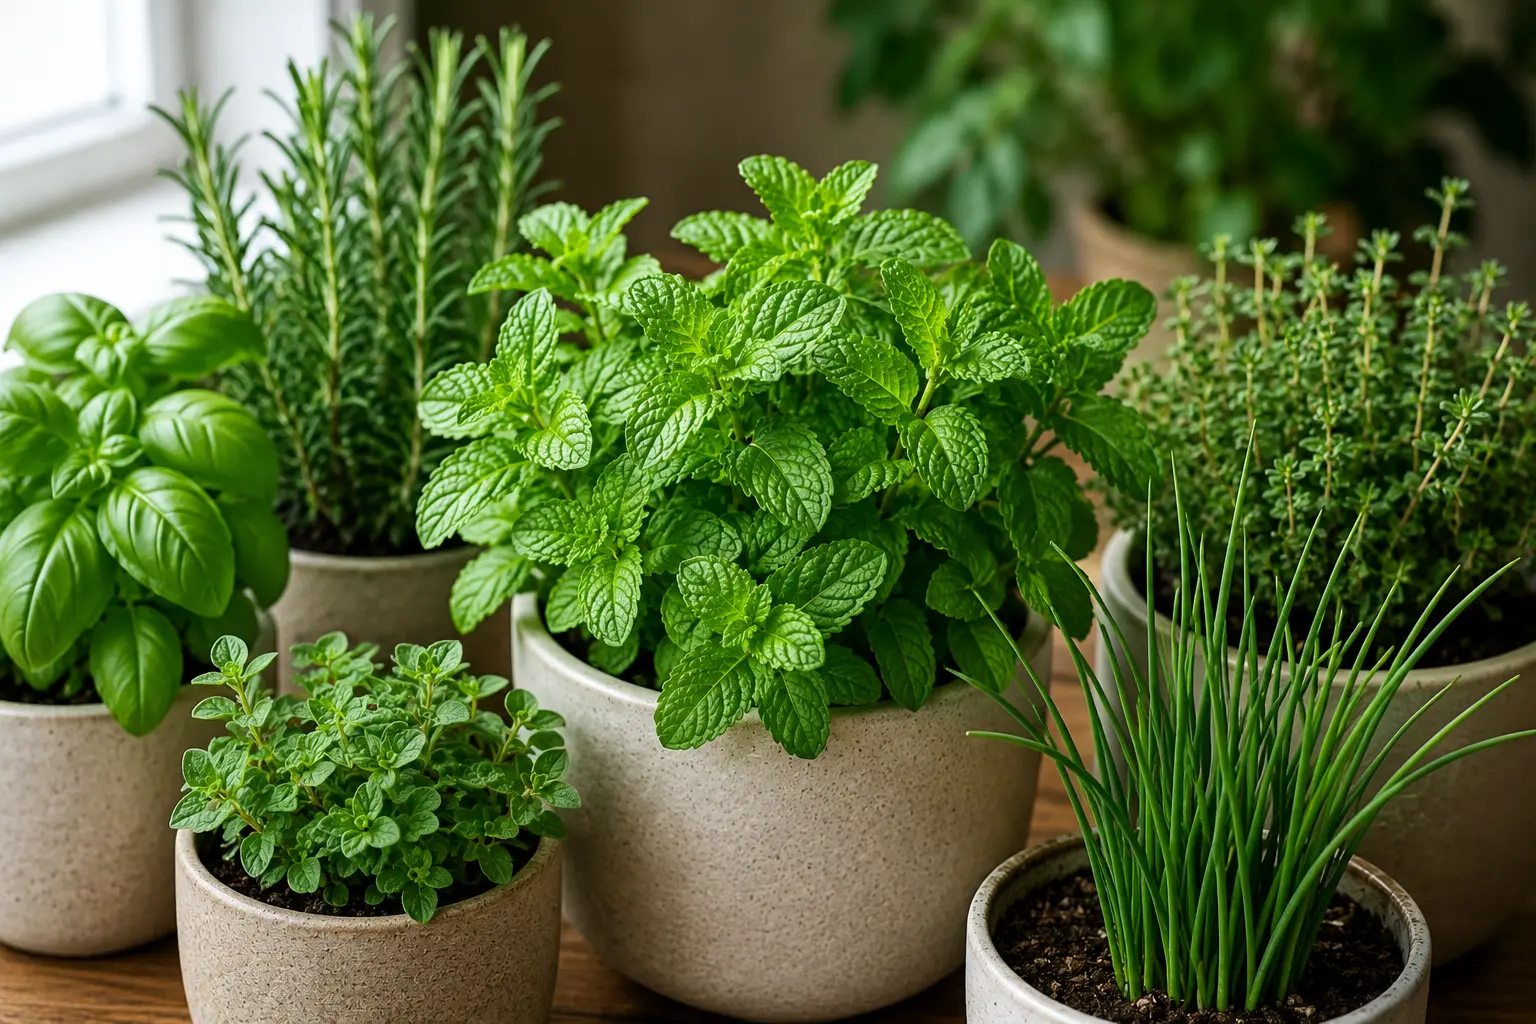
Mint gets along with herbs that share similar light and moisture needs, which makes watering simpler when several pots share a windowsill or grow-light shelf.
- Basil likes the same consistent moisture and bright light, so you can water it on the same schedule as mint.
- Parsley takes similar indoor humidity and temperature without competing hard for light.
- Chives stay compact enough to sit beside a spreading mint pot without crowding it.
- Oregano works on the same watering rhythm, though it prefers a touch less moisture between waterings.
- Thyme fits into small spaces and tolerates the same temperature range as mint.
Keep each herb in its own container rather than a shared planter. Mint’s spreading rhizomes will crowd out slower-growing neighbors within a single season if you let them.
Propagating Extra Cuttings
A well-tended pot puts out more growth than a single container needs, and that surplus is the easiest way to expand your collection. Take 3- to 6-inch (7.5 to 15 cm) stem cuttings during a routine prune, root them in water or moist soil following the same steps as starting a new plant, and pot up the rooted cuttings once roots reach 1 to 2 inches (2.5 to 5 cm) long. It’s also the simplest way to replace an aging mother plant every couple of years without buying new stock.
Troubleshooting Common Indoor Mint Problems
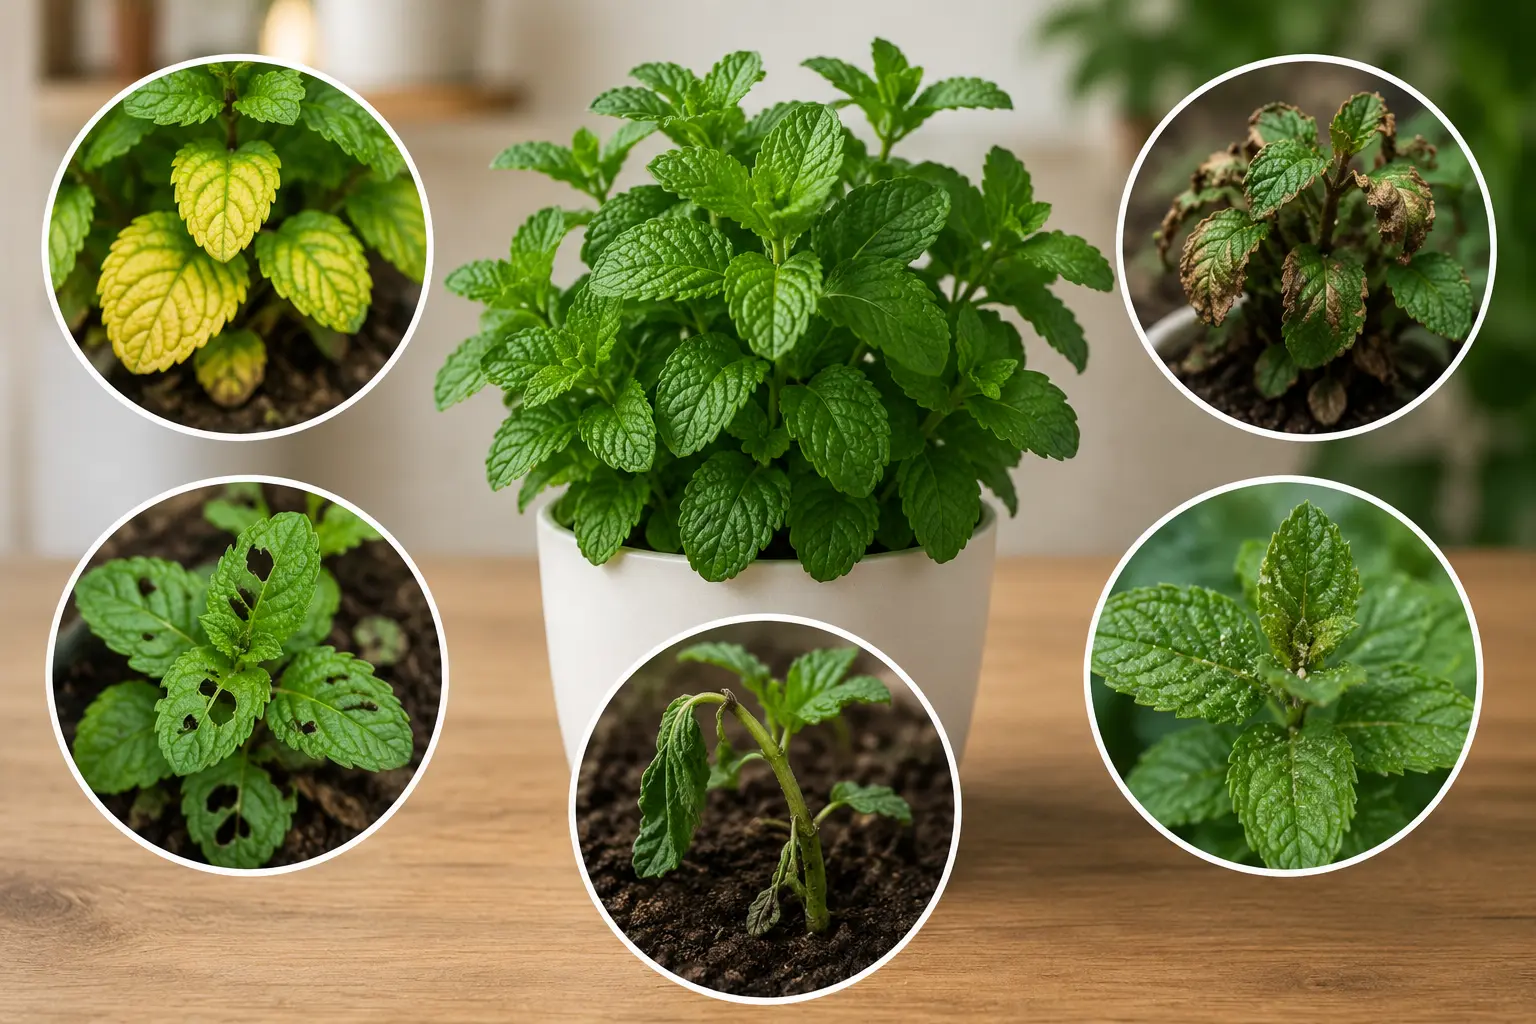
| Problem | Likely Cause | Fix |
| Leggy, stretched stems | Insufficient light | Move to a brighter window or add a grow light; trim long stems to encourage branching |
| Yellow leaves | Overwatering or poor drainage | Check that the pot drains fully; let soil dry slightly before the next watering |
| Drooping or wilting | Underwatering or heat stress | Water thoroughly and move the pot away from heat sources |
| Weak, sparse growth | Low light or overfertilizing | Increase light exposure and reduce fertilizer frequency |
| Brown, crispy leaf tips | Low humidity or chlorine sensitivity | Raise humidity with a pebble tray; let tap water sit 24 hours before use |
| Fungus gnats | Overly wet soil surface | Let the top inch (2.5 cm) of soil dry between waterings; use sticky traps if gnats persist |
| Slow growth in winter | Shorter daylight and cooler temperatures | Supplement with 12 to 16 hours of grow-light exposure and reduce watering frequency |
Most indoor mint problems trace back to one of two things: inconsistent light or inconsistent watering. Fix either one and you’ll usually see improvement in new growth within a week or two.
FAQs
Can mint grow indoors without natural sunlight?
Yes. A full-spectrum grow light running 12 to 16 hours daily can fully replace natural sunlight. Keep the light 12 to 24 inches (30 to 60 cm) above the plant for even growth without scorching.
How long does an indoor mint plant live?
Mint is a perennial and can survive indoors for several years with consistent care. Dividing or refreshing the plant every 2 to 3 years keeps growth vigorous.
Does indoor mint need a specific pot size?
Use a container at least 8 inches (20 cm) in diameter and depth with drainage holes. Smaller pots dry out quickly and restrict the spreading root system within months.
Can mint grow year-round indoors?
It can. Consistent light, moisture, and monthly feeding from spring through summer keep mint producing new leaves in every season, and growth rarely stops entirely even in winter, just slows down.
Can a grocery-store mint plant be transplanted?
Yes. Divide a living grocery-store mint plant into smaller sections and repot each one in fresh, well-draining soil. Confirm the variety label first, since store-bought pots are sometimes mixed or mislabeled.
Conclusion
Indoor mint rewards consistent basics more than technical skill: bright light for 6 to 8 hours daily, soil that drains fully between waterings, and a pot roomy enough for spreading roots. Start a cutting in water, move it to soil within two weeks, and you’ll have a full, established plant within a month. Leggy stems and yellowing leaves almost always come down to a light or watering imbalance rather than anything more serious, so most problems are fixable within days once you spot them. Pick a variety that fits your space, whether that’s an upright spearmint on a bright sill or a spreading apple mint in a wide patio container, and mint becomes one of the lowest-maintenance, highest-reward plants a home garden can hold.