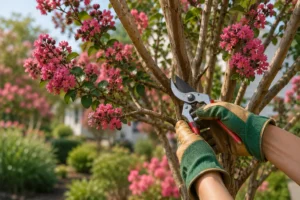
I wasted $80 on seed starting trays my first year. Bought cheap plastic ones that cracked after one season. Then expensive ones that were wrong for what I was growing.
Here’s what nobody tells you upfront: the tray matters more than you think. Wrong cell size = stunted plants. Wrong material = money down the drain.
Let me save you the trial and error I went through.
Why Cell Size Makes or Breaks Your Seedlings
Most beginners grab whatever tray looks good at the store. Big mistake.
Cell size determines everything – how long plants can stay in the tray, how strong the root system develops, how many seedlings you can grow in your space.
Too small? Your seedlings get root bound before transplant time. Roots circle the bottom, tangle together, struggle after planting. Too large? You waste space and can’t grow enough plants for your needs.
I learned this after my tomato seedlings got root bound in 128-cell trays. Roots were a tangled mess. Half the plants never recovered after transplanting.
The 72-Cell Sweet Spot for Most Growers
72-cell trays are the compromise that actually works. Here’s the math: Each cell gives seedlings enough room to develop a solid root system without needing to transplant before garden time.
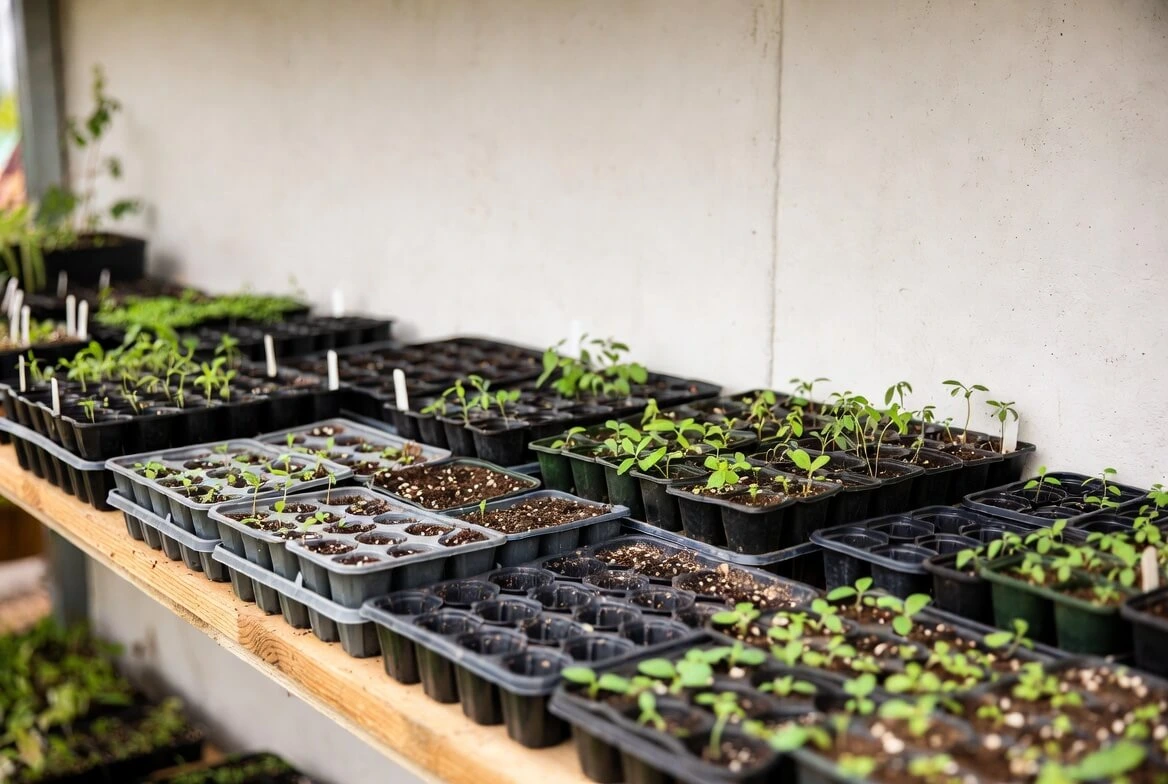
My setup uses 4-foot wire shelves. Each shelf fits 4 trays.
- With 72-cell trays: 4 trays × 72 cells = 288 seedlings per shelf
- With 32-cell trays: 4 trays × 32 cells = 128 seedlings per shelf
I get double the plants in the same space with 72-cell trays. But the cells are still big enough that plants don’t get root bound for 6-8 weeks. That’s plenty of time for most seeds to grow into transplant-ready seedlings.
At Zoned Garden, we recommend starting with 72-cell trays for your first season. They work for 80% of what you’ll grow – tomatoes, peppers, flowers, most vegetables.
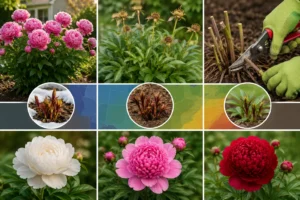
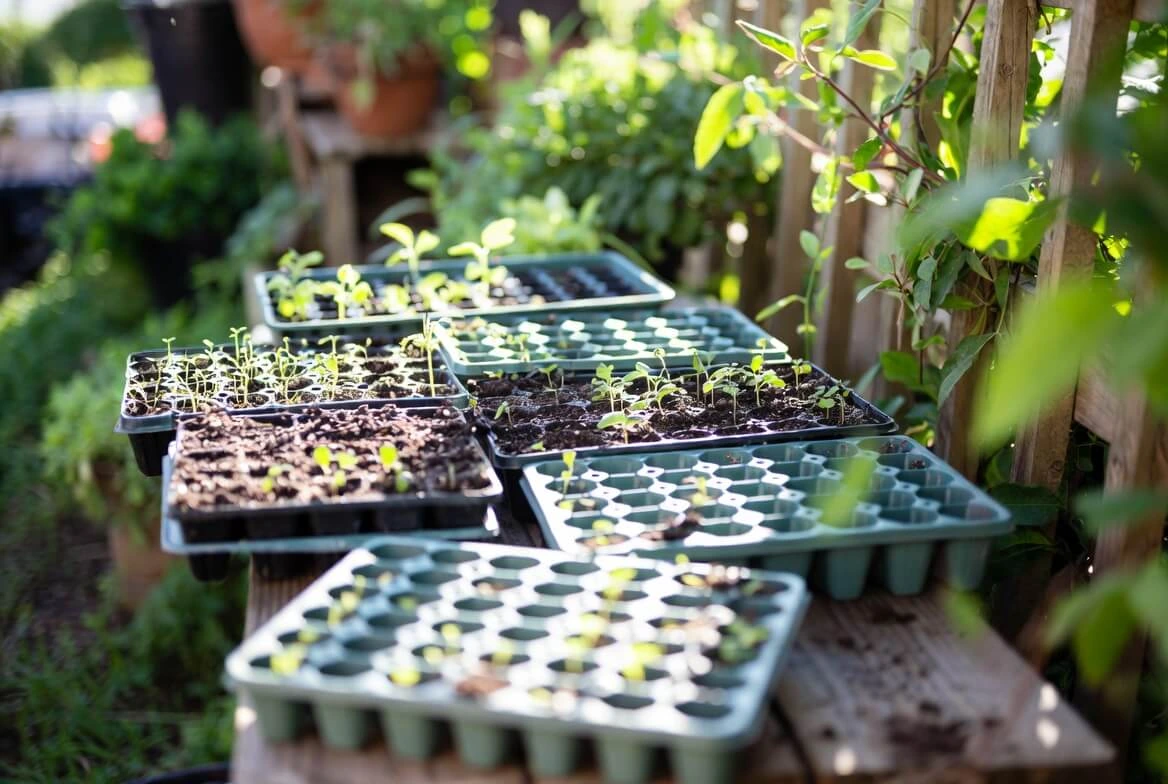
When to Use Different Seed Starting Tray Sizes
50-cell deep trays for plants with big root systems: Sweet peas, perennials, anything with a taproot needs more depth. I use 50-cell trays that are 3½ inches deep instead of the standard 2 inches.
The extra depth lets roots grow down instead of circling. Sweet peas especially need this – their root systems are massive from day one.
I tried growing sweet peas in regular 72-cell trays once. Plants were weak, leggy, never thrived. Switched to deep 50-cell trays. Totally different results.
128-cell trays for small seeds on heat mats:
If you’re struggling with germination and need every seed on a heat mat, smaller trays make sense financially. One heat mat + one humidity dome can cover a 128-cell tray. That’s 128 seeds germinating in one warm, humid environment.
The catch: You’ll need to transplant seedlings to bigger cells once they germinate. Extra work, but saves money on heat mats.
Channel trays for tiny seeds:
Snapdragons, herbs, any seeds too small to place individually – channel trays are your answer. Pour the entire seed packet down a channel. Let them germinate. Then transplant the babies to regular 72-cell trays. Saves hours of eye strain trying to separate microscopic seeds into individual cells.
Best Seed Starting Trays I’ve Actually Used
Bootstrap Farmer 72-cell trays are what I use now. Cost $2-3 more per tray than cheap ones. Worth every penny. I’ve used the same trays for 5 seasons. They don’t buckle when full of wet soil. Don’t crack when you pop seedlings out.
The cheap black plastic trays I started with? Cracked and warped after one season. Had to replace them all. Ended up spending more money buying new trays every year. Quality matters when you’re reusing trays for years.
For more tips on starting seeds successfully, check out our guide on seed starting for beginners at Zoned Garden.
Seed Starting Trays With Dome: Do You Need One?
Humidity domes speed germination. That’s a fact. They trap moisture and warmth around seeds. Creates a mini greenhouse effect. Seeds sprout 2-3 days faster in my experience.
When domes are essential:
- Seeds that need high humidity (impatiens, begonias)
- Cold basement growing areas
- Expensive seeds you can’t afford to waste
- Heat-loving plants in cool spaces
When you can skip domes:
- Warm house (above 70°F)
- Easy-germinating seeds (tomatoes, zinnias, sunflowers)
- Seeds started on heat mats
- Budget is tight
I use domes on expensive flower seeds and anything finicky. Skip them for tomatoes and easy vegetables.
- Pro tip: Once seeds germinate, remove the dome immediately. Leaving it on causes mold and damping off disease.
I lost 30 snapdragon seedlings once by leaving the dome on too long. Mold killed them in 48 hours.
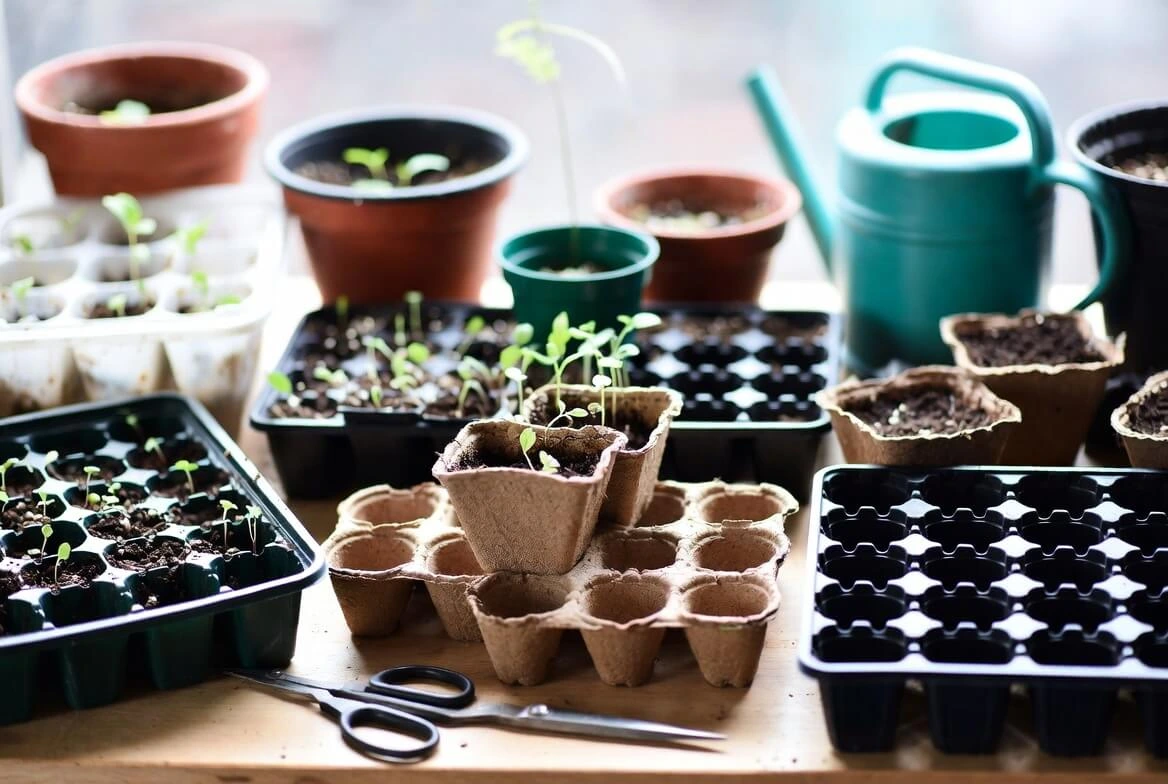
DIY Seed Starting Tray Alternatives
I tried the Pinterest-worthy options. Here’s what actually works versus what’s a waste of time.
Yogurt cups and plastic containers – YES:
- Free if you already have them
- Work perfectly fine
- Drill drainage holes in bottom
- Reuse for years
I still use these for larger plants like tomatoes and peppers that need bigger pots.
Toilet paper rolls – NO:
- Too small for most plants
- Break down before transplant time
- Fall apart when watered
- More hassle than benefit
Egg cartons – NO:
- Way too small (learned the hard way)
- Soil dries out in hours
- Have to transplant within days
- Not worth the effort
Newspaper pots – MAYBE:
- Biodegradable is nice
- Too flimsy when wet for my taste
- Time-consuming to make many
- Better options exist
Honestly? Just buy real seed starting trays. The $15-20 investment pays for itself immediately in saved time and better results.
For complete information on soil mixes and germination tips, visit our indoor seed starting guide at Zoned Garden.
Bottom Watering vs Top Watering Trays
Bottom watering changed everything for me.
Fill the bottom catch tray with water. The soil wicks moisture up through drainage holes. Seedlings get water without disturbing tiny roots or washing out seeds.
Benefits I’ve seen:
- No damping off disease
- Seeds don’t wash away
- Soil moisture stays consistent
- Less daily monitoring needed
I top water once after planting seeds. Then bottom water exclusively once seedlings emerge. Lost way fewer seedlings to fungal disease after switching to this method.
How Long Seedlings Can Stay in Trays
Depends entirely on cell size. 128-cell trays: 2-3 weeks max after germination 72-cell trays: 6-8 weeks comfortably 50-cell deep trays: 8-10 weeks for most plants
Watch for roots coming out the bottom holes. That’s your signal to transplant. I check by gently pulling on a seedling. If it resists and doesn’t pop out easily, roots are well established. Time to plant.
Don’t leave them too long. Root-bound plants never fully recover. Growth stays stunted even after transplanting.
Sterilizing Seed Starting Trays Between Uses
This step prevents disease. Non-negotiable if you’re reusing trays.
My process:
- Knock out all old soil immediately after transplanting
- Rinse thoroughly with hose
- Soak in 9:1 water-to-bleach solution (9 cups water, 1 cup bleach)
- Let sit 10 minutes
- Rinse completely
- Air dry before storage
It takes 15 minutes. Kills fungal spores and bacteria that cause damping off. I skipped this step in year two. Lost 40% of my seedlings to fungal disease. Never skipped it again.
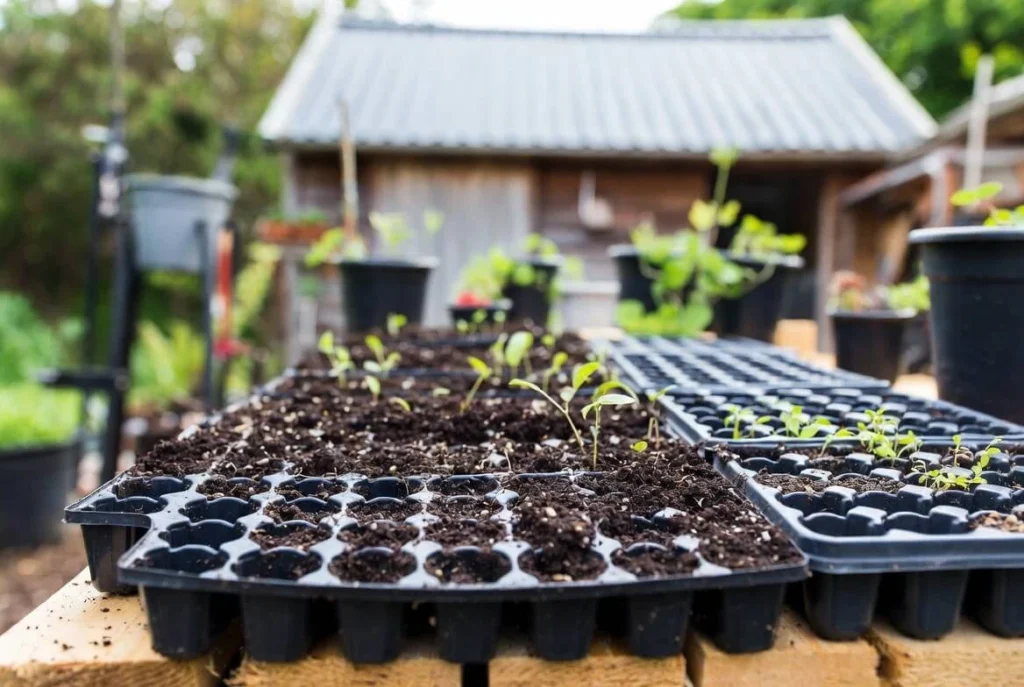
Maximizing Your Growing Space
Vertical stacking with wire shelves lets you grow hundreds of seedlings in a small area.
- My setup: 4-foot wire rack with 4 shelves. Each shelf holds 4 trays of 72 cells.
- Total capacity: 1,152 seedlings in a 4×2 foot footprint.
Add shop light grow lights to each shelf. Total cost for the entire setup: $120. Lasts 10+ years. Way more plants than buying from the nursery. Plus I get the exact varieties I want.
Seed Starting Trays FAQs
What size seed starting tray is best for beginners?
72-cell trays are the best all-around choice. Cells are big enough for 6-8 weeks of growth but still maximize space. Work for most vegetables and flowers.
Do I need seed starting trays with dome covers?
Domes help but aren’t essential. They speed germination by 2-3 days and help in cool spaces. Skip them if your house is warm (70°F+) and you’re growing easy seeds.
How do you sterilize seed starting trays?
Soak in 9:1 water-to-bleach solution for 10 minutes, then rinse thoroughly. Do this between seasons to kill disease-causing organisms.
Can you reuse seed starting trays?
Yes. Quality plastic trays last 5-10+ years with proper care. Silicon trays last even longer. Cheap trays crack after 1-2 seasons.
What’s better – plastic or silicon seed starting trays?
Both work well. Plastic is cheaper and proven. Silicon is flexible, dishwasher safe, and lasts longer. I use both depending on what’s growing.
How often should I water seedlings in trays?
Bottom water when the top inch of soil is dry. Usually every 2-3 days. Check daily but don’t overwater – moist soil, not soggy.
The Real Secret to Seed Starting Tray Success
Buy quality trays once. Use them for years. Match cell size to what you’re growing and how long before transplant. Use humidity domes for finicky seeds. Skip them for easy growers. Bottom water to prevent disease. That’s 90% of success right there.
I spent two years figuring this out through trial and error. Killed hundreds of seedlings. Wasted money on wrong products. You don’t have to do the same.
Seed starting trays aren’t complicated once you understand cell size matters and quality pays for itself.
At Zoned Garden, we believe in investing in tools that last and methods that actually work. Quality seed starting trays check both boxes – they’ll serve you season after season while giving your seedlings the best possible start.