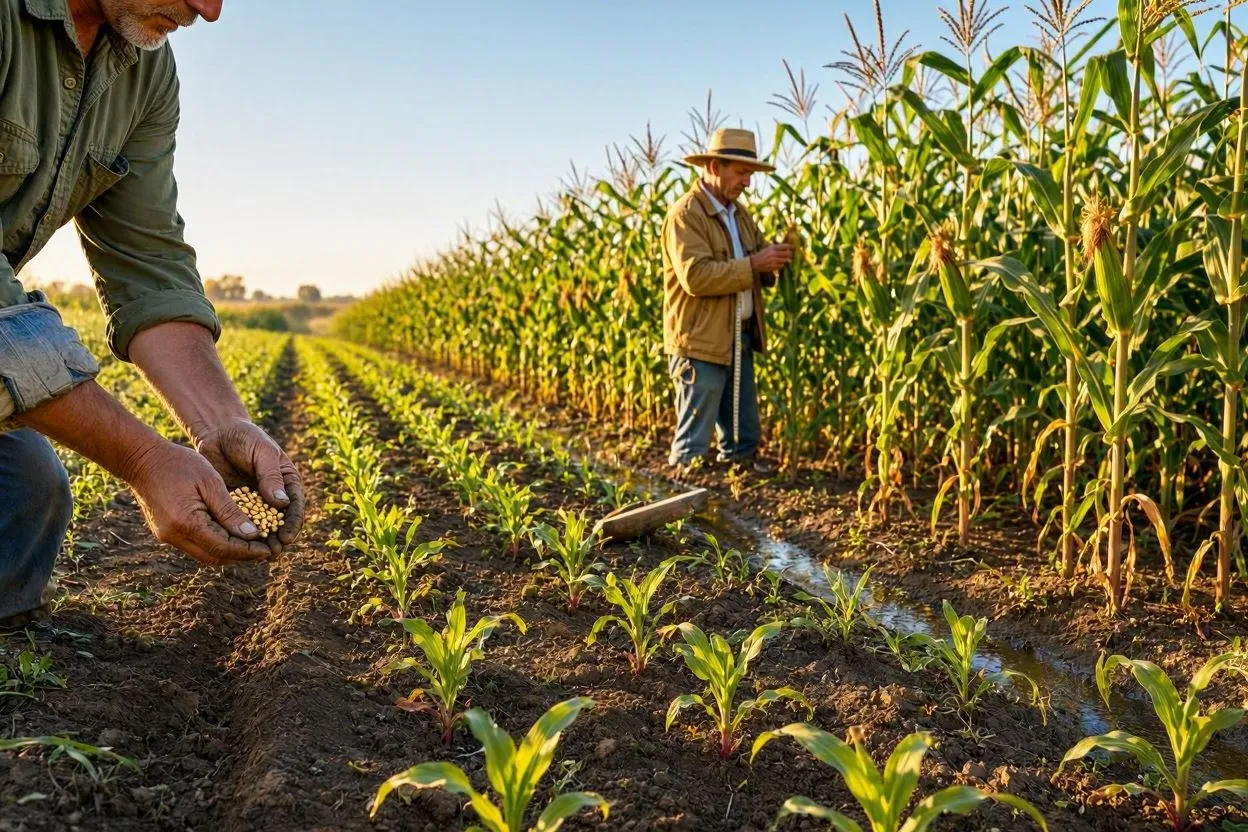
Growing corn successfully depends on three things: full sun, block-style planting for wind pollination, and steady nitrogen feeding throughout the season. Corn isn’t difficult to grow, but it fails more often than tomatoes or beans for one specific reason: poor pollination. Get the spacing and block layout right, and the rest of the process, from planting to harvest, is fairly forgiving. This guide covers exact planting dates, soil prep, spacing, watering, pest control, and harvest timing for gardeners in the United States, Canada, and Australia.
Corn as a Crop: Classification and Seed Basics
Corn, botanically named Zea mays, is a cereal crop in the grass family (Poaceae), grown commercially as field corn and in home gardens primarily as sweet corn. As a row crop, corn is planted from seed each season, meaning growers select fresh seed stock, or cultivars, based on germination rate, seed viability, and days to maturity rather than propagating from cuttings or transplants.
Seed viability drops over time in storage, so testing older seed packets for a germination rate above 75% before sowing prevents wasted bed space. Commercial seed suppliers typically print a germination percentage and lot number directly on the seed packet, a standard practice across agricultural seed sales. Home gardeners rotate corn with a nitrogen-fixing legume crop, such as beans or peas, the following season to improve soil fertility and reduce the buildup of corn-specific soil pathogens, a practice known in agronomy as crop rotation.
What Is Corn and Why Does Pollination Matter?
Corn is a wind-pollinated grass, and pollination determines whether ears develop full, plump kernels or patchy, missing ones. Two structures drive the process: tassels at the top of the plant release pollen, and silks growing from each ear catch that pollen. Every silk strand connects to one potential kernel. A silk that never receives pollen produces no kernel at all, which is why a single row of six plants often ends up with gaps down the cob.
Wind carries pollen only a short distance, so isolated single-row plantings pollinate poorly. Block planting solves this: arrange at least four rows side by side rather than one long row, and pollen drifts sideways between rows instead of blowing away into open space. Home gardeners who switch from single rows to a 4-row block commonly see fuller ears the very same season.
How to Choose the Right Corn Variety
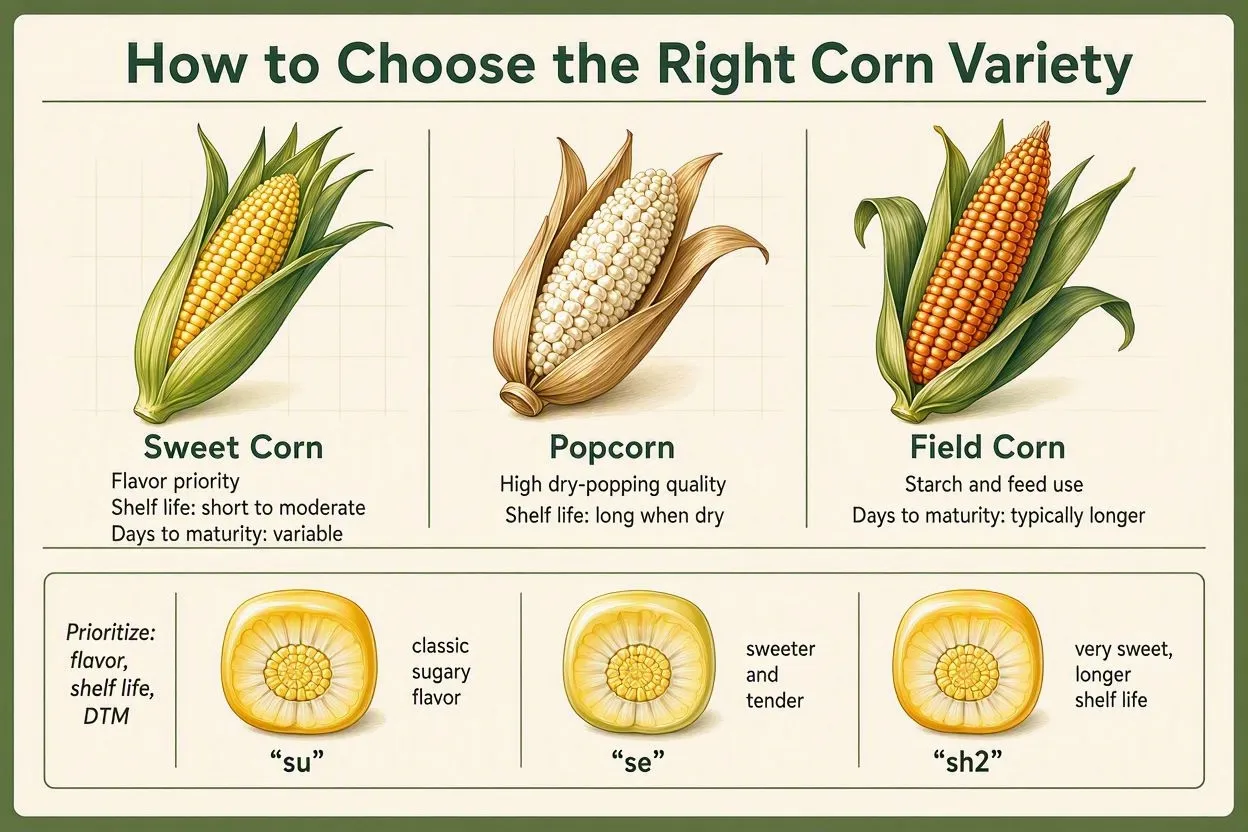
Choose a corn variety based on flavor priority, shelf life, and days to maturity (DTM), since these three factors vary sharply between types. Sweet corn, popcorn, and field corn are genetically different crops, and picking the wrong category for your goal wastes a growing season.
Sweet Corn Types: su, se, and sh2
Three genetic types cover most sweet corn sold to home gardeners:
- Standard sugary (su) delivers the strongest classic corn flavor but holds quality for only 1 to 2 days after picking.
- Sugary enhanced (se) produces a creamier texture and sweeter taste, with a 4- to 7-day shelf life.
- Supersweet (sh2) stores for 1 to 2 weeks, which is why it dominates grocery store shelves, though the flavor leans sweet over “corny.”
If shelf life matters more than intense flavor, sh2 varieties are the better pick.
Popcorn vs. Sweet Corn vs. Field Corn
Sweet corn is harvested young, while the kernels are still soft and milky, and eaten fresh. Field corn, sometimes called dent corn, is left on the stalk until fully dry and used for animal feed, cornmeal, or ethanol. Popcorn is a separate variety bred specifically for its hard outer hull, which traps steam and causes the kernel to explode when heated. Planting field corn expecting a sweet eating crop is a common beginner mistake, since the two look nearly identical as seedlings.
Days-to-Maturity Comparison Chart
| Variety Example | Type | Days to Maturity |
| Golden Bantam | su | 78-83 days |
| Sugar Buns | se | 70-72 days |
| Espresso | se | 65-70 days |
| Bodacious | sh2 | 75-80 days |
| Silver Queen | su | 92-96 days |
Planting one early variety (65-70 days) and one late variety (90+ days) at the same time extends the harvest window by roughly 3 to 4 weeks without any risk of cross-pollination, since their pollination cycles happen weeks apart.
When to Plant Corn
Plant corn seeds outdoors two weeks after your area’s last spring frost date, once soil temperature reaches at least 55°F (13°C) for standard varieties or 65°F (18°C) for supersweet types. Corn seed does not transplant well and should go directly into garden soil rather than starting indoors.
Zone-based planting windows in the USA (USDA Hardiness Zones):
- Zone 3: last week of May
- Zone 5: first week of May
- Zone 7: early April
- Zone 9: early March
Canadian gardeners in Zones 4-5 (much of southern Ontario and British Columbia’s Lower Mainland) typically plant between mid-May and early June. Australian gardeners work on the reverse calendar: in temperate zones like Melbourne or Sydney, corn goes into the ground from October through December, after the risk of frost has passed in the Southern Hemisphere spring.
Cold soil causes chilling injury. Seeds absorb water as they germinate, and if the soil sits below 50°F (10°C), the seed’s cell walls can rupture before the root even forms, stalling germination for up to a month.
How to Prepare Soil for Growing Corn
Prepare corn soil by working 3 to 4 inches (7.5 to 10 cm) of aged compost into the top layer and testing pH, which should fall between 6.0 and 6.8. Corn is a heavy feeder, and nutrient-poor soil produces short, pale stalks regardless of how well the rest of the growing process goes. Tillage to a depth of 6 to 8 inches (15 to 20 cm) before sowing breaks up compacted layers and gives the seedbed the loose structure corn’s root system needs to establish.
Loose, well-drained soil lets corn roots reach down 5 to 6 feet (1.5 to 1.8 meters) under good conditions, anchoring the plant against wind and drought. Compacted soil keeps roots shallow, and shallow-rooted corn falls over easily in storms, a problem called lodging. One gardener who planted in heavily compacted front-yard soil lost 75% of stalks to a single thunderstorm, while the same variety planted in loosened garden soil nearby stood through the same storm undamaged.
In regions where soil stays cold into late spring, laying black plastic or infrared transmitting (IRT) film over the planting area one to two weeks before sowing warms the soil several degrees and speeds germination.
How to Plant Corn Seeds
Sow corn seeds 1.5 to 2 inches (4 to 5 cm) deep, spaced 8 to 12 inches (20 to 30 cm) apart, in blocks of at least four rows rather than a single long row. Cover seed loosely and irrigate immediately after sowing to trigger germination.
Seedlings typically emerge in 4 to 14 days. Warm soil speeds this considerably: seed planted in late April commonly takes 10 days to break the surface, while the same seed planted in late June, once soil has fully warmed, can emerge in as few as 4 days.
Corn Spacing and Block Planting
Space rows 12 to 24 inches (30 to 60 cm) apart within the block. A 4-by-4-foot (1.2-by-1.2-meter) block holds around 20 stalks and represents close to the smallest area that still produces reliable pollination. Spacing plants any closer than 6 inches (15 cm) apart reduces both cob size and yield, based on agricultural spacing trials.
Companion Planting: The Three Sisters Method
The Three Sisters method pairs corn, pole beans, and squash in the same planting bed, a technique developed by Indigenous farmers across North America centuries before European contact. Corn stalks give beans a structure to climb, beans fix nitrogen in the soil that feeds the heavy-feeding corn, and squash’s broad leaves shade the soil and suppress weeds. Plant corn first and let it reach roughly 6 inches (15 cm) tall before adding beans and squash seeds around the base, since beans planted too early can outcompete young corn seedlings for light.
How to Grow Corn in Containers
Grow corn in containers by using pots at least 24 inches (60 cm) wide and deep, planting a minimum of 9 to 16 plants per container in a grid rather than a single row. A single stalk in a small pot won’t produce ears, since wind pollination requires enough neighboring plants nearby to distribute pollen effectively.
Choose a shorter or dwarf variety bred for container growth, since standard corn reaches 6 to 8 feet (1.8 to 2.4 meters) tall and can tip over in wind once top-heavy with ears. Container corn needs daily watering during hot weather, as pots dry out faster than garden beds, and a balanced liquid fertilizer applied every two weeks compensates for the limited soil volume.
How to Water and Fertilize Corn
Water corn deeply once per week, applying roughly 1 to 1.5 inches (2.5 to 3.8 cm) of water per session, rather than light daily watering. Deep watering encourages roots to grow downward in search of moisture, building a more drought-resistant plant.
Drought stress during the two weeks before silk emergence is the costliest timing mistake a grower can make. Research from Purdue University found that continual wilting at this stage can reduce yield by 3% to 4% per day, and severe stress during silking itself can cut yield by as much as 8% per day.
Fertilize corn with a nitrogen-rich feed at planting time, then again once stalks reach about 12 inches (30 cm) tall. Corn signals nitrogen deficiency by turning pale green instead of the deep green color of a healthy plant, a visible cue that tells you to feed again before growth stalls.
Common Corn Pests and Diseases
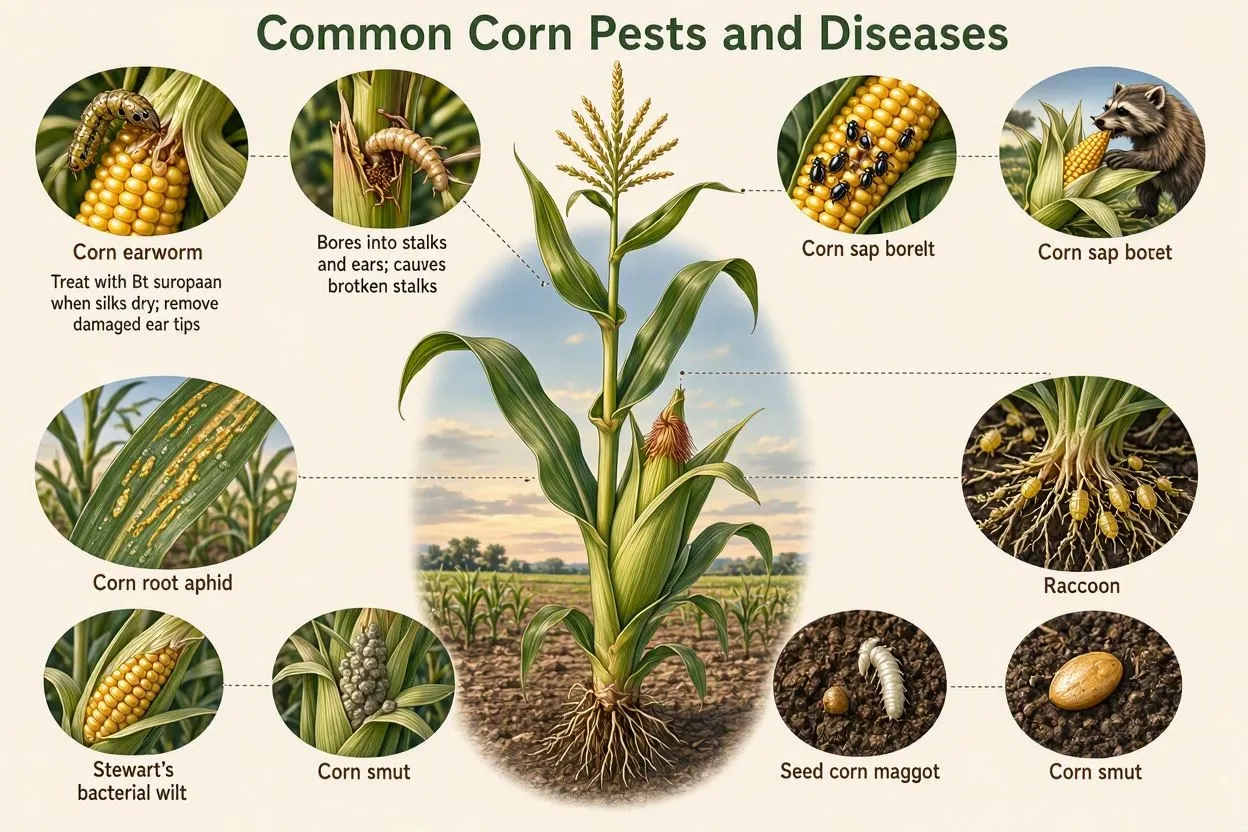
Corn faces 6 major pests, including corn earworm, European corn borer, corn sap beetles, corn root aphids, seed corn maggots, and raccoons, along with 2 common diseases: Stewart’s bacterial wilt and corn smut.
- Corn earworm feeds on silks and kernels; treat with a Bacillus thuringiensis (Bt) spray once silks begin to dry, and simply cut off damaged ear tips at harvest.
- European corn borer bores into stalks and ears, causing bent stalks and broken tassels; apply Bt as soon as silks partially emerge.
- Corn sap beetles target already-damaged or overripe ears; clean up crop residue after harvest to reduce their numbers next season.
- Corn root aphids stunt and yellow plants by feeding on roots; sprinkling wood ash around the base helps deter them.
- Seed corn maggots attack germinating seeds, especially in cool, wet soil, making warm-soil planting the best prevention.
- Raccoons are the most persistent vertebrate pest; a two-strand electric fence, set 4 inches (10 cm) and 12 inches (30 cm) off the ground, remains the most reliable deterrent according to multiple growing guides.
Stewart’s bacterial wilt causes wavy leaf edges and yellow-brown streaks, and controlling corn flea beetles (the insect that spreads it) prevents most outbreaks. Corn smut produces grayish-white galls on ears or tassels; the affected corn is still edible if caught early, though most gardeners remove and destroy the galls before they burst and spread spores.
How to Harvest Corn
Harvest corn 18 to 20 days after silks first appear, checking readiness by peeling back the husk slightly and puncturing a kernel with your fingernail. Milky white liquid signals a ripe ear, ready to pick. Clear liquid means the corn needs more time, while thick, opaque white liquid means the ear is overripe and starchy.
Silks turn brown within 5 to 7 days of first appearing, well before the kernels finish maturing, so brown silks alone are not a reliable harvest signal. Full maturity actually takes 18 to 28 days after silk emergence, depending on weather and variety.
Twist and pull each ear downward and away from the stalk to remove it, rather than pulling straight out, which can damage the stalk and neighboring ears. Harvest in the early morning if possible, since corn holds its highest sugar content before the sun has warmed the plant.
How to Store Corn After Harvest
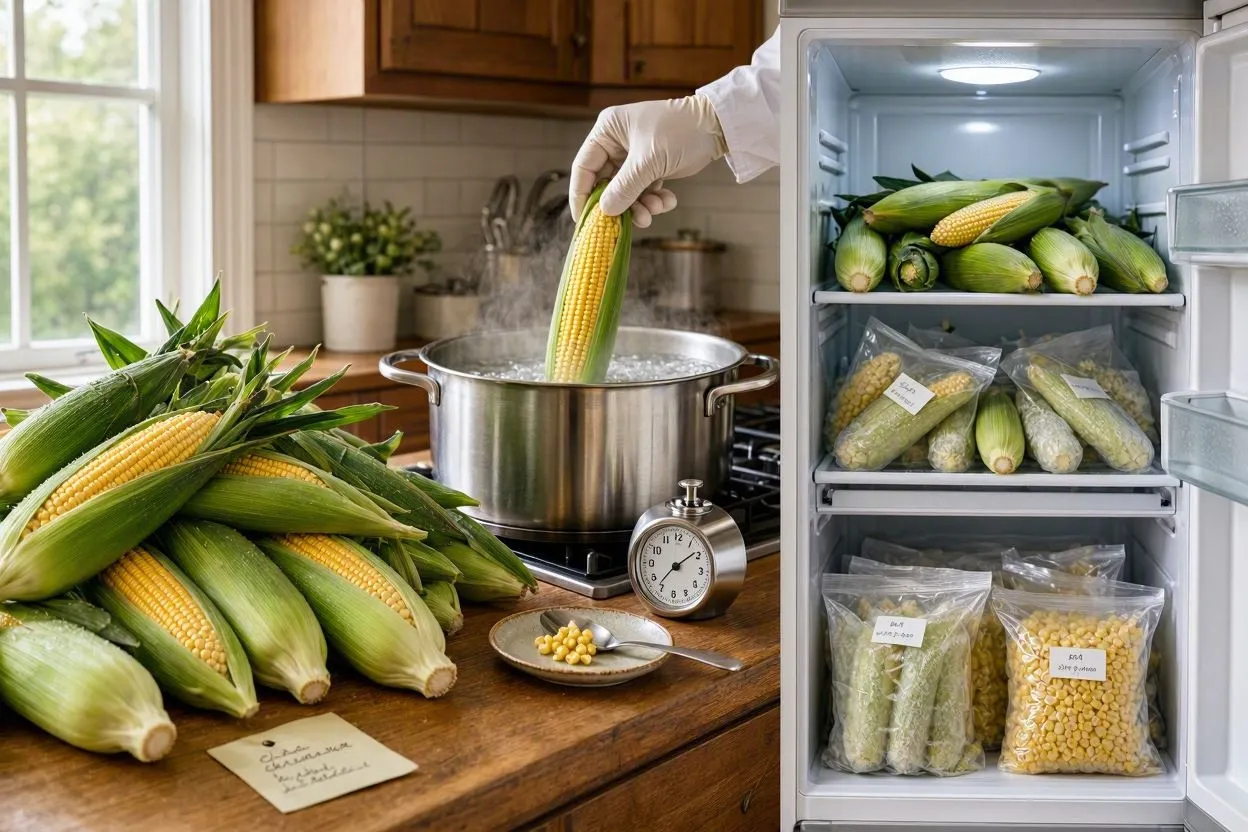
Store harvested corn in the refrigerator immediately, still in the husk, where it holds peak sweetness for up to one week. Sugar in corn kernels begins converting to starch the moment an ear is picked, so the sooner it’s chilled, the longer that sweet flavor lasts.
For longer storage, blanch ears in boiling water for 4 to 7 minutes, then freeze them whole or cut kernels off the cob first. Frozen corn keeps its quality for up to 12 months in an airtight container or freezer bag.
FAQs
Does corn need full sun to grow well?
Yes. Corn requires at least 6 to 8 hours of direct sunlight daily for strong stalk growth and full ear development.
Can I grow corn from store-bought corn kernels?
No. Grocery store corn is typically a hybrid variety that won’t grow true from seed, and kernels are often treated to prevent sprouting.
How many corn plants produce enough for one person?
Plant 6 to 10 corn stalks per person for a season’s worth of fresh eating, adjusting upward for freezing or canning.
Why did my corn grow tall stalks but no ears?
Poor pollination from single-row planting is the most common cause. Nitrogen deficiency and drought stress during silking also prevent ear formation.
Is it normal for corn stalks to produce side shoots?
Yes. These shoots, called suckers, rarely affect yield. Removing them while under 3 inches (7.5 cm) tall avoids stalk damage.
Conclusion
Growing corn successfully comes down to three non-negotiables: block planting for pollination, consistent nitrogen feeding, and deep weekly watering, especially in the two weeks before silks emerge. Match your variety’s days-to-maturity to your region’s frost dates, whether that’s a Zone 5 planting in early May, a Zone 9 planting in March, or an Australian spring planting in October. Follow the spacing, timing, and pest-management steps above, and a home garden can produce full, sweet ears by midsummer, ready to pick straight off the stalk and onto the dinner plate the same day.